Sewing instructions for the Mathilda blouse
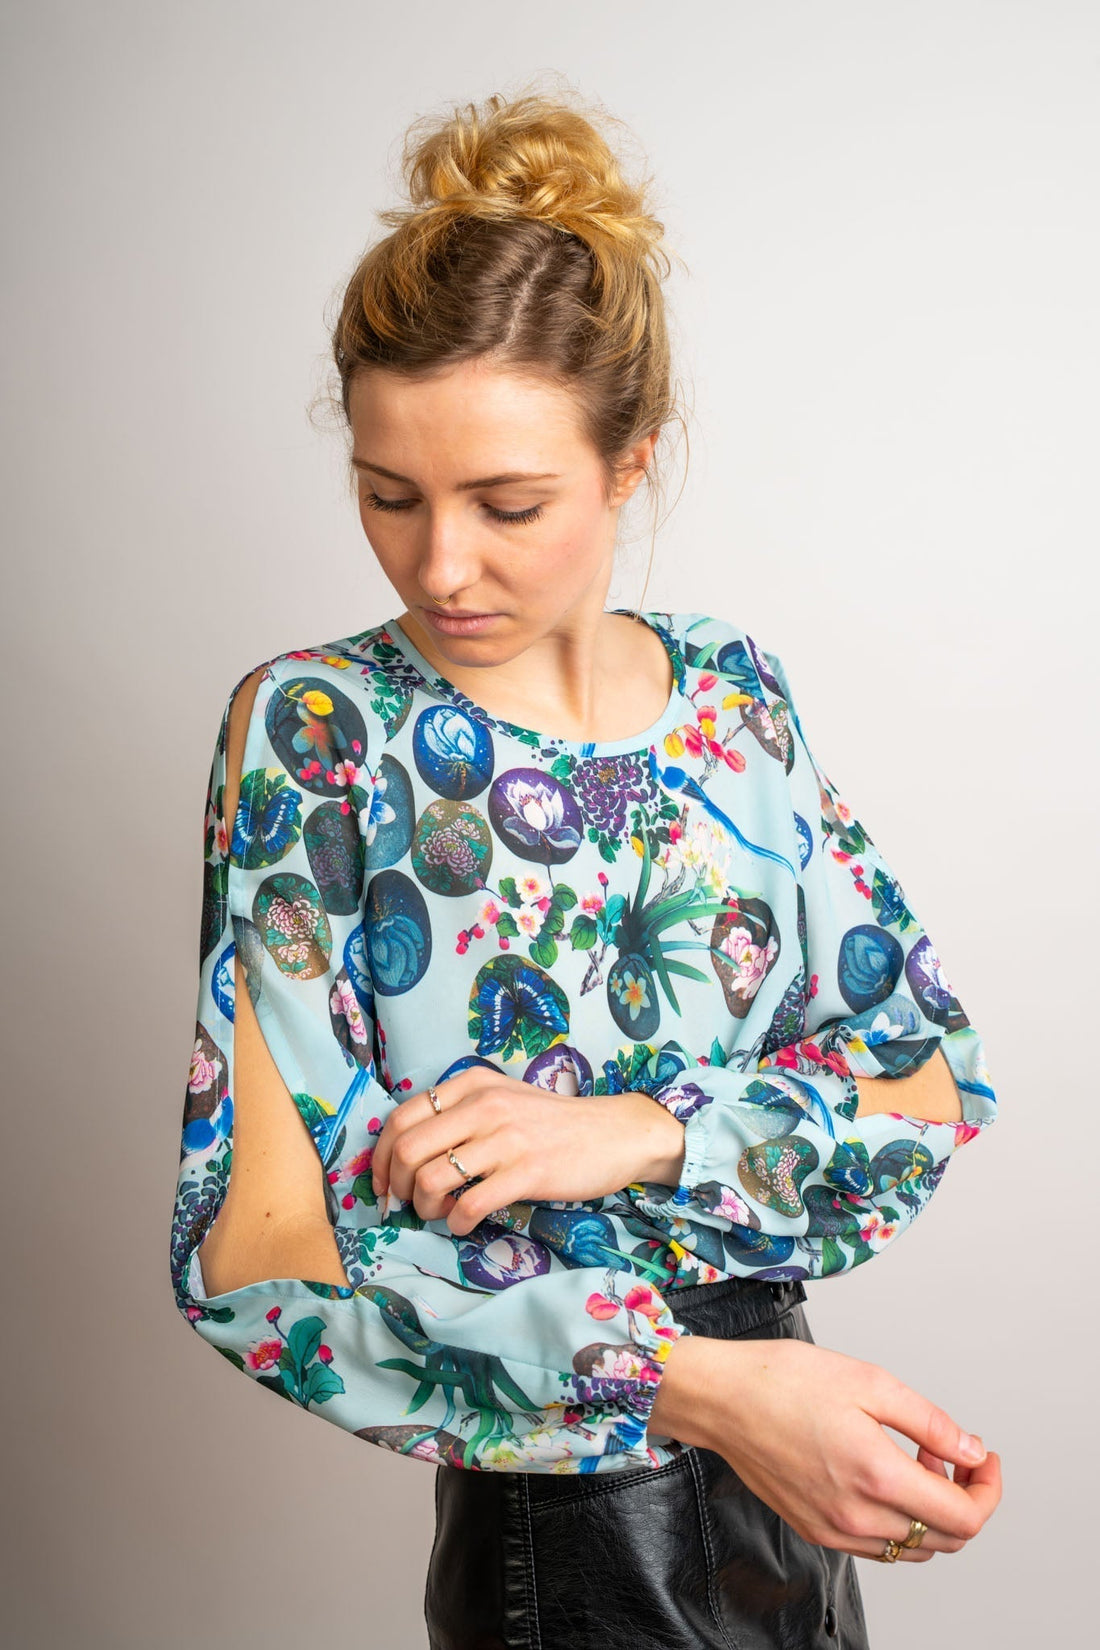
The Mathilda summer blouse is easy to sew thanks to its raglan cut, and the eye-catcher is undoubtedly the slit upper arm seam. A section of the seam is left open for this. The great thing is that everyone can vary the opening to their own taste. A narrow elastic band is inserted into the sleeve hem. You can pair the blouse casually with jeans, but sewn in silk, it can certainly look elegant. Mathilda is definitely a great alternative to a summer shirt.
Length at the center back = 65 – 71 cm.
In this tutorial, Mathilda was sewn from a polyester georgette.
Click here for the add-on instructions
Required materials:
We recommend a soft flowing viscose, or a polyester or silk satin.
| Size 34-40 | Material | 1.50 m | 140 cm wide |
| Size 42-50 | Material | 1.75 m | 140 cm wide |
| Size 34-50 | Elastic sleeves | 50 cm | 1 cm wide |
Cutting:
Seam allowances are included - 1cm wide or as per marking clips!
Cut out the pattern pieces from your outer fabric. Lay the fabric right side up. Place the selvedges parallel to the center so you can place the front and back pieces on the fold. The pattern pieces should all be laid with the writing facing up. Always align the grain arrow on all pieces in the same direction and parallel to the selvedge of the fabric. Transfer all notches from the pattern by making a 3mm long snip with scissors or chalk and mark the ends of the darts. Notch the seam allowance on the fold, as this is always the center. Marks define the positions of dart ends, pocket positions, and much more. Transfer these either with chalk or pins. 
You will need fabric:
- 1x front part in the fold
- 1x back part in the fracture
- 2x VT sleeves opposite
- 2x RT sleeves opposite
- 1x neck hole strip
Sewing instructions:
Seam allowances are included - 1cm wide or as per marking clips!
To sew this blouse you will need a sewing machine and an overlock sewing machine, or alternatively the zigzag stitch on your sewing machine to neaten the cut edges.
In addition to the description, the colored lines in the pictures show you where a seam needs to be sewn or something needs to be glued.
When sewing, pay attention to the seam allowance included in the pattern.
Have fun sewing! 
First, use the notches to sew the bust darts on the front piece to the marked end. The dart contents are then ironed flat. We've finished the hem of our delicate fabrics to prevent fraying and make them easier to work with later. This isn't necessary with sturdier materials, as the hem is folded over twice during processing. 
The sleeve pieces are finished at the upper arm seam, see marked lines. 
Sew the upper and lower part of the upper arm seam (1cm seam allowance) up to 1cm beyond into the open upper arm seam to prevent the ends of the upper arm slit from fraying. 
Fold the seam allowance on the upper arm slit 2x1cm and iron. 
Topstitch the upper arm slit along the sides with 1cm stitches and sew along the ends just above and below the opening. If the slit opens too wide, you can overlap it slightly at the point marked on the pattern and stitch it together. 
Sew the front raglan seam from the sleeve into the front armhole. Neaten the seam allowances together. 
Follow the same principle with the back raglan seam. 
Close the underarm seam and the side seam in one step and neaten the seam allowances together again. 
Now we come to the neckline binding. First, close the neckline binding. Now pin the right side of the neckline binding to the wrong side of the bodice and sew the binding all the way around, leaving a 1cm seam allowance. 
Fold the neckline strip outward and press the 1cm seam allowance. Then place the strip around the seam allowance of the bodice so that the first seam is concealed. If this is not the case, trim the seam allowance of the bodice back slightly. The strip is stitched on from the outside, close to the edge. 
Fold the hem 2 x 0.7cm and stitch from the outside, iron. 
Turn the sleeve hem 2 x 1cm and topstitch. Leave a gap in the topstitching at the underarm seam to accommodate the elastic. 
Using a small safety pin, thread the elastic band into the sleeve hem. Then trim the band to the desired length (plus seam allowance) and sew it together. 
Finally, close the opening.
Your MATHILDA is ready !
If you're stuck or have any questions, please email us at info@schnittmuster-berlin.de. We'll respond as quickly as possible.
Have lots of fun with your new designer piece!
Sincerely, your Schnittmuster-Berlin team.