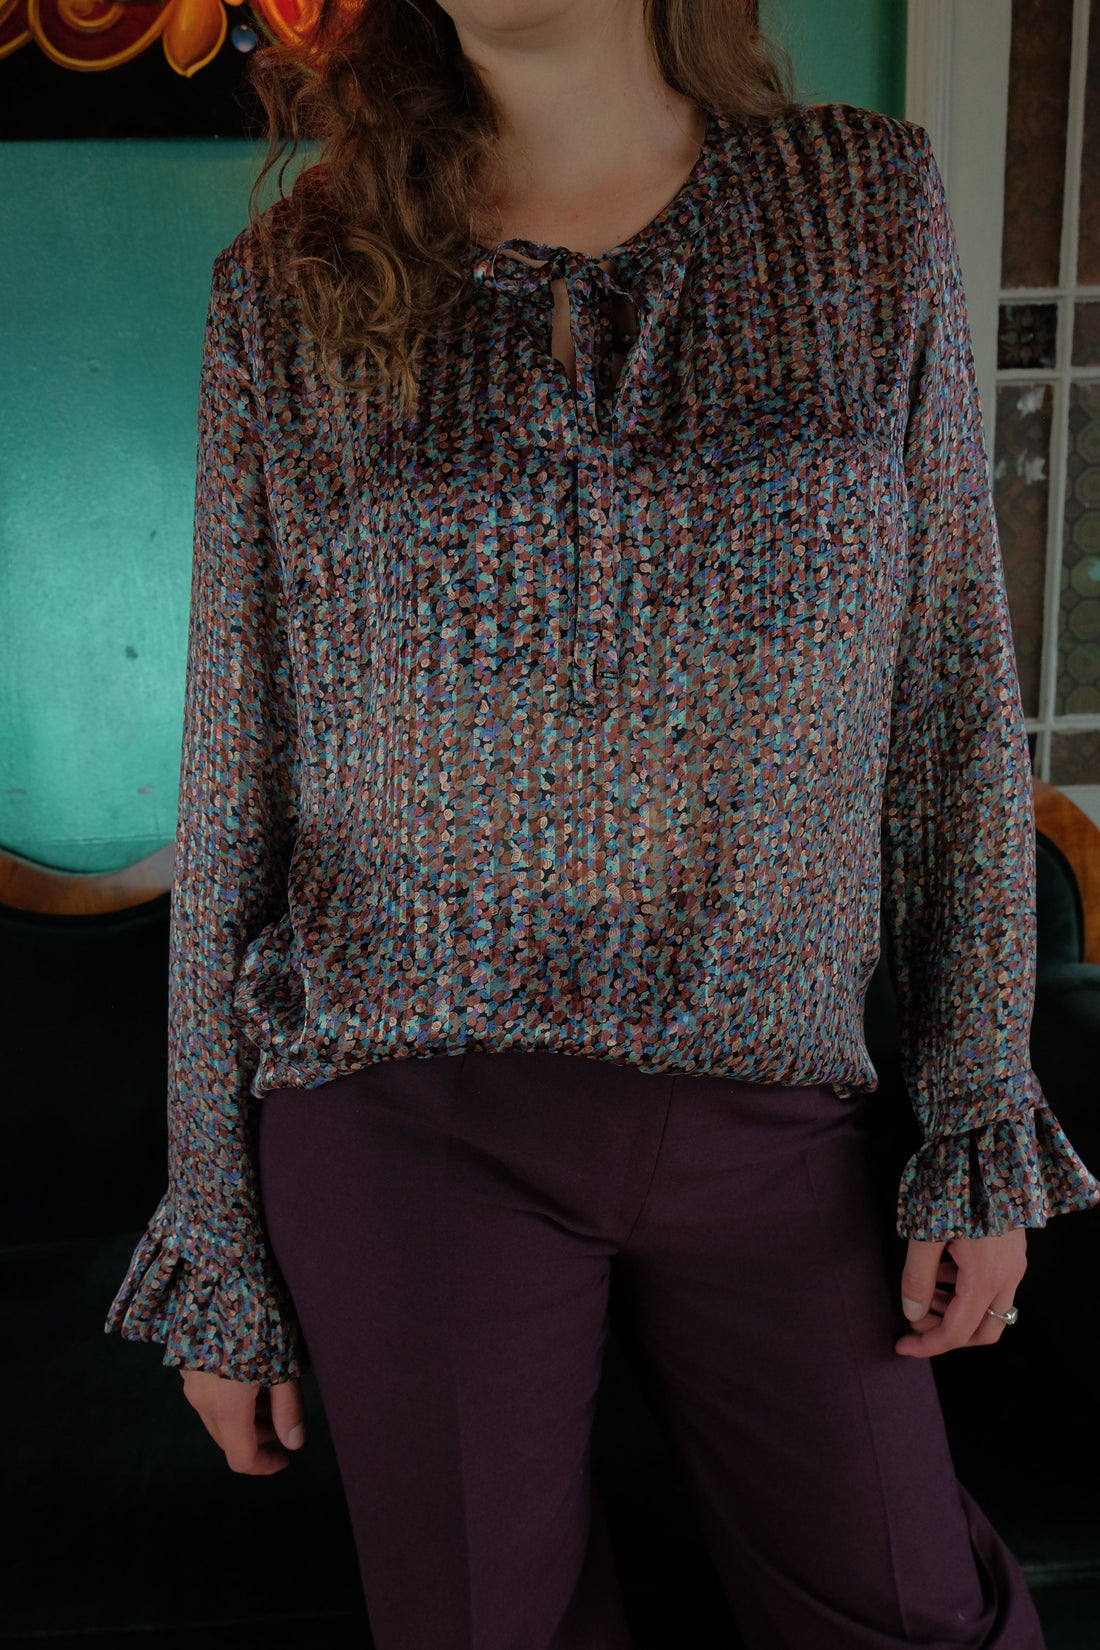
This slightly tailored yet casual blouse pairs beautifully with many different bottoms. The special detail is definitely the cuffs; the seam of the gathered cuff is covered by a pleat. The collarless neckline features a narrow panel and is held in place by a tie at the neck.
Length in the back center = 64 -70 cm
→ To the “Ronja” pattern
Ronja was sewn from silk in this tutorial.
Cutting:
Seam allowances are included - 1cm wide or as per marking clips!
Seam allowances are included - 1cm wide or as per marking clips!
To sew this blouse you will need a sewing machine and an overlock sewing machine, or alternatively the zigzag stitch on your sewing machine to neaten the cut edges.
In addition to the description, the colored lines in the pictures show you where a seam needs to be sewn or something needs to be glued.
When sewing, pay attention to the seam allowance included in the pattern.
Have fun sewing! First, gather the top of the back piece. Using a large stitch and loosened upper thread tension, sew along the seam allowance at intervals of 0.6 and 0.8 cm between the two outer notches. Leave a good bit of slack at each end. Pull on the upper thread, and the piece will tighten. The length should match the yoke. Distribute the gathers evenly and knot the ends.
 Sew one yoke to the back piece, right sides together, and then the second yoke to it, right sides together, so the back piece has a yoke on both sides, with the seam allowances between the yokes. Carefully press the seam to prevent the gathers from being flattened. Topstitch the seam from the right side.
  Sew the darts in the front piece and iron them upwards.
 Neaten the front facing. If you have a particularly fine fabric, glue interfacing to the wrong side of the fabric where the lace ends. Pin the facing to the front piece, right sides together. Pay particular attention to aligning the markings.
 Sew the outline.
 Cut in the center, just before the point. Turn the facing to the wrong side of the front piece and iron the seam flat. Stitch this edge close to the edge.
 Sew the front piece and the outer yoke together at the shoulder seam, right sides together. Now sew the inner yoke against it so that the seam allowances are also between the two yokes (you can find the perfect tip for easily sewing in a yoke in our sewing instructions for the Qamar blouse).
 Iron the seam and stitch it close to the right side.
 Sew the shoulder seams of all facing pieces together, right sides together, and press them open. Press a seam tape onto the neckline of one set of facing pieces (here: line in yellow).
 Sew the two facings together, right sides together, along the narrower curve. Turn the facing and press the seam.
 Now pin the facing to the inside of the neckline, right sides together, and sew it in place, paying particular attention to the notches. Press the seam allowances into the facing. Also press the seam allowance of the outer facing according to the pattern.
 Pin the facing so that the quilting line is hidden and stitch it close to the edge. Also stitch the front edge and the neckline at the same time.
 Sew the sleeves right sides together into the armholes, paying particular attention to the notch positions. Neaten the raw edges together and press the seam allowance into the sleeve.
 Now sew the blouse together along the side and sleeve seams, right sides together. Neaten and press the seam allowances into the front piece.
  Press the sleeve hems to the wrong side and fold them open again. Sew the sleeve ruffles together along the short sides, right sides together. Press the seam allowances open and press the ruffle in half, right side out.
 Gather the ruffle at the open side to fit the sleeve hem.
 Sew them to the sleeve hem, right sides together, with the seams meeting. Neaten the edges.
 Fold the hem back in, leaving the ruffle at the bottom. Sew the hem in place. Then carefully iron the hem and ruffle again.
 Turn the ribbons inside out: Fold the ribbon in half lengthwise, right sides together, and sew the long sides together. Turn the ribbon by knotting the sewing threads to a darning needle or narrow safety pin and threading it between the layers of fabric, carefully turning the ribbon inside out. Iron the ribbon flat.
  Fold it twice at each end.
 Sew the upper ends onto the markings on the facing and stitch the lower ends in place.
Now iron the hem of the blouse inward twice, 1 cm at a time, and sew it in place. See the detailed instructions below:
Fold the hem 1cm to the left side and sew just next to this fold with a large stitch and loosened needle thread tension. It's best to do the front and back pieces separately. Now pull on the needle thread, just like you would when gathering, and the hem will fold inward. At the side seam, where the curve rises, you don't need to gather; you should actually stretch it a bit. Push out any excess gathers. Iron the hem inward 1cm at a time, bit by bit, until the hem is flat.
Now you can pull out the auxiliary threads and sew the hem.
Alternatively, you can also finish the hem and sew along the overcast seam with a large stitch and loosened needle thread tension. The principle is the same as described above, except that you only fold it inward 2 cm once and then sew it in place.
Your RONJA is ready!
If you're stuck or have any questions, please email us at info@schnittmuster-berlin.de. We'll respond as quickly as possible.
Have lots of fun with your new designer piece!
Sincerely, your Schnittmuster-Berlin team.