Sewing instructions for the blouse “Paula”
Those of you who are a little older will definitely know it, the legendary romantic film from the 70s, produced by DEFA in the former GDR. The name Paula immediately got us thinking and we designed a pattern for this slightly romantic ruffled blouse for you. You have different options for styling this blouse: casual with jeans, comfortable with Marlene trousers and suitable for business with a suit. Of course, the quilted ruffle with the tie at the neck hole is Paula's crucial detail, but the wide bishop sleeves with the elasticated cuffs are also a beautiful eye-catcher. The slit in the front center seam provides the necessary cleavage. Don't worry, all the details are not difficult to work with, but you should definitely have a little sewing experience. Length at center back = 68-73 cm.
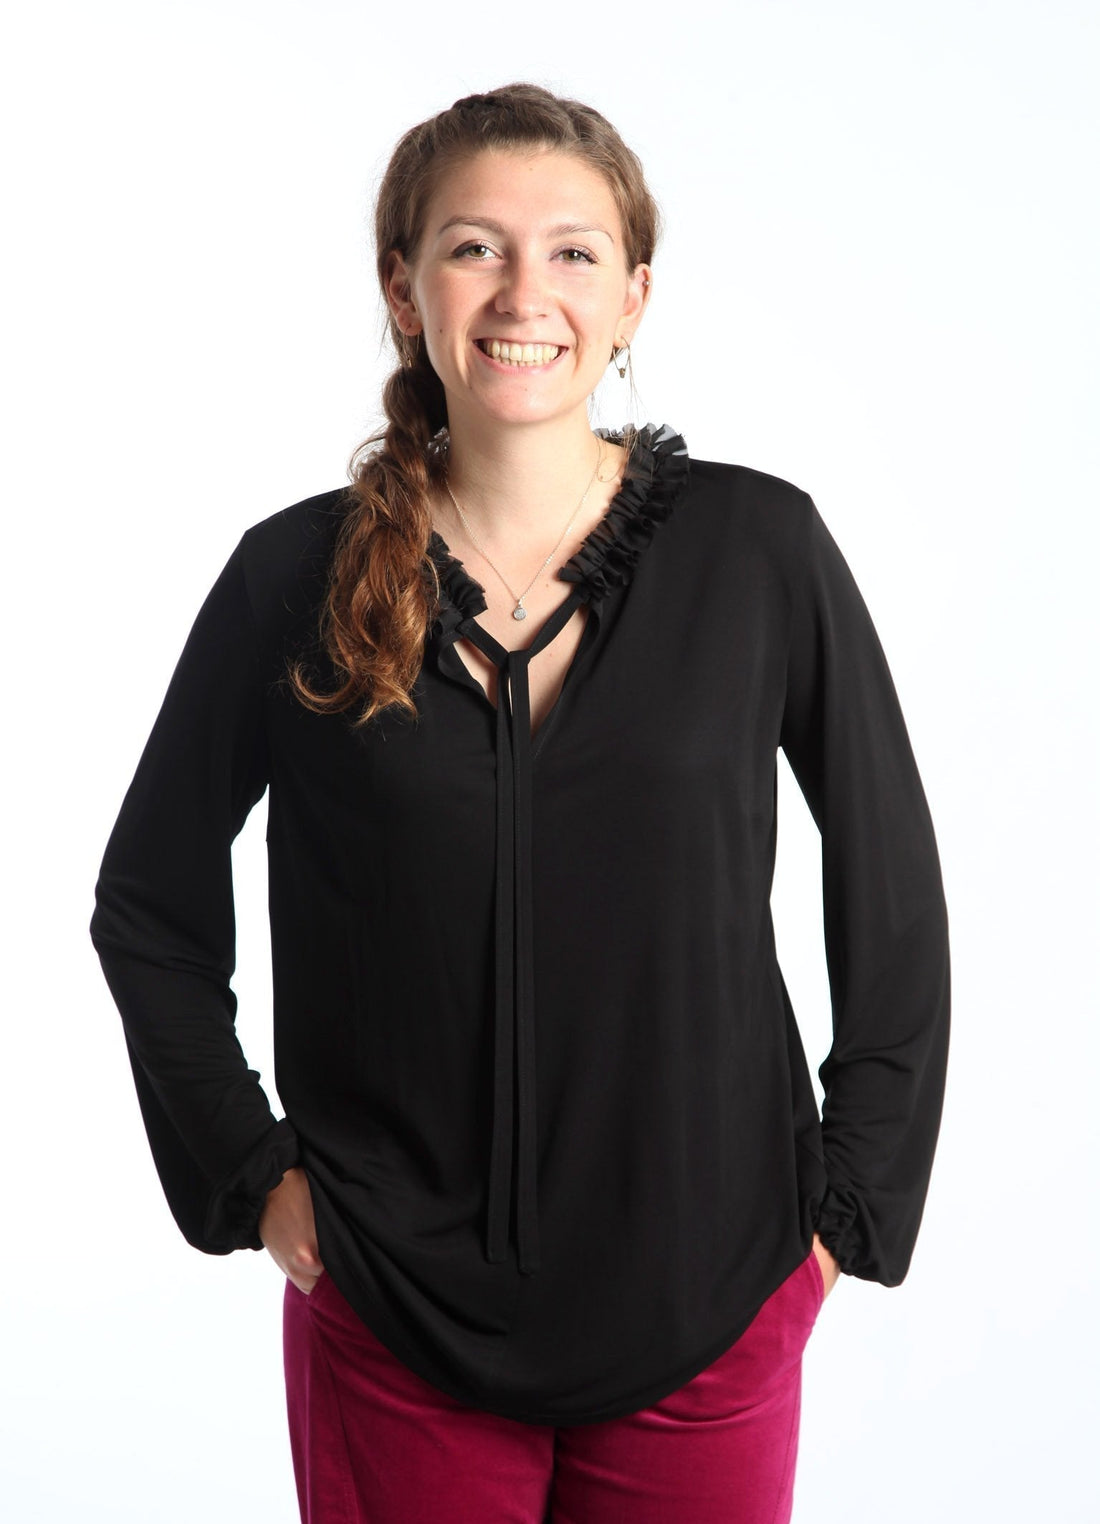
The beautiful, playful Paula blouse from this pattern was sewn from a thin cotton fabric with viscose content.
→ To the pattern “Blouse Paula”
Required material:
We recommend soft, flowing viscose, silk or polyester satin
| 34-40 | Outer fabric | 1.50 m | 140cm wide |
| 42-50 | Outer fabric | 1.90 m | 140cm wide |
| 34-50 | Rubber band | 0.50 m | 1cm wide |
Cutting:
 Cut the pattern pieces out of fabric and transfer the clips from the pattern. In addition to the description, the colorful brackets in the pictures show you where a seam needs to be sewn.
You need:
- 1x front part opposite
- 1x lower back part in the break
- 2x yoke of the back in the fold
- 1x sleeve opposite
- 2x ties
- 2x ruffle/ 4x ruffle
- 2 elastic bands for arm cuffs
Sewing instructions
Sew the darts of the blouse by placing the clips right sides together, marking the tip and then sewing from the outside to the tip. Shortly beforehand, reduce the stitch length to 1.0-1.5mm, so you don't need to backtack the seam at the end. Press the darts up.

On both front pieces, overcast the long edge from the slit, then place them right sides together and close this seam with the normal sewing machine. Iron the seam allowances apart.

Iron the two slit edges inwards twice by 1cm each, so you get a smooth transition to the just closed middle seam.

Stitch the edges of the slit close to the edges.

Using the marking in the pattern, gather the lower back area to the width of the bottom edge of the yoke.

Both yokes now enclose this upper edge on their right sides. Sew all three layers of fabric together.

Iron the seam allowance towards the yoke and stitch the seam close to the edge on the outside.

Place the back piece on the front piece, right sides together, and sew the shoulder seams...

... and then the side seams.

Iron the hem inwards twice by 1cm and stitch it tightly to the edge.

Place the sleeve right sides together and close its side seam.

Then iron the bottom edge inwards twice by 1cm. Leave a small opening when stitching.

Use a safety pin to pull the elastic through this opening.

Make sure that the elastic is not twisted, sew its two ends together well, pull them back into the hem and close the small opening.

Repeat these steps with the other sleeve.

Your blouse is on the left, your sleeve on the right. Mark the side seam on the sleeve as well as the middle, top point. These should now meet the side and shoulder seams of the blouse. Tuck the sleeve into the blouse, right sides together.

Sew the arm ball all the way around and repeat on the other side.

Finish the neckline and press it inwards by 1cm. Stitch it in place. At the beginning and end you fold the small corner 90° inwards, so you get a clean finish.

First iron the ties in the middle, then iron both open edges to this ironing edge and then again in the middle, so there are now four layers of fabric on top of each other that no longer have any open edges.

Fold the short ends inward by 1cm and stitch the open sides securely.

| Sew the two ruffle strips together on one narrow side - stitch them through the middle twice with the longest straight stitch on your sewing machine at a distance of 5mm, without overcasting the edges first. Lock those Don't sew, but gently pull on the bobbin threads so that the ruffle gathers. Gather it so that it is -2cm the length of the neckline. (If you have a fabric that has a very different left side, take the ruffle in a double layer, then the right side of the fabric is visible inside and outside. To do this you have to cut the strip 4x instead of 2x) |

Stitch the ruffle in the middle of the outside of the neckline, starting 1cm from the edge of the slit and ending there again on the other side. Then remove the gathering threads.

Finally, stitch the ties onto this remaining centimeter.

This is how the finished upper part of your blouse now looks. You can tie the ties into a nice bow when wearing it.

Congratulations, your blouse Paula is ready!


The post sewing instructions for the blouse “Paula” first appeared on Blog Sewing Patterns Berlin .