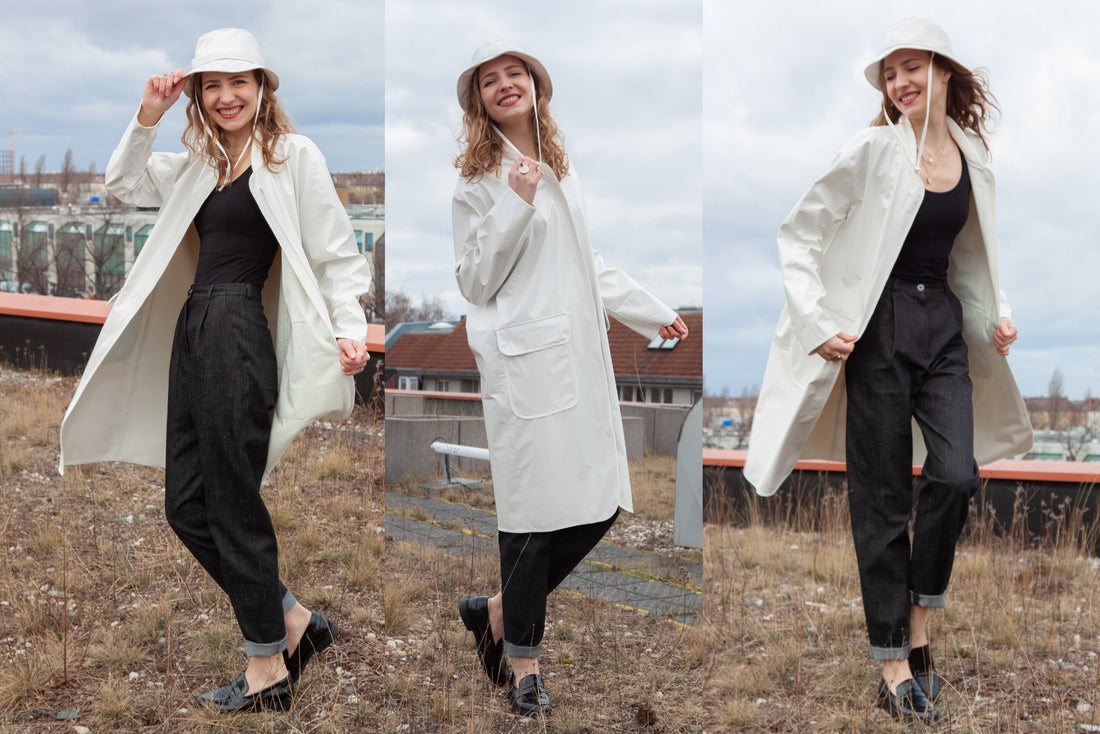
Sewing instructions hat Uta
Stylish "bucket hat" in four different sizes. Sewn quickly and easily.
Sizes 53, 55, 57 and 59 cm = head circumference
In these instructions, Uta was sewn from denim.
Required material:
We recommend artificial leather, quilted fabric or a solid wool fabric
One size fits all
- Fabric inside and outside 0.50 m (140 cm wide) divide the amount for inside and outside fabric
- Ribbon 0.75 m 2cm wide
cutting:
Cut out the pattern pieces from your outer fabric. Lay the fabric right side up. The pattern pieces should all be face up. Always align the grain arrow on all pieces in the same direction and parallel to the selvage of the fabric. Transfer all the notches from the pattern through a 3mm long incision with scissors or chalk. Markings define positions of dart ends, pocket positions, etc. Transfer these either with chalk or pins.
If you want to make your uta out of corduroy, note that corduroy is cut against the grain. We have a video for you about this.

You need from fabric:
- 2x lid
- 4x crown
- 4x brim
- 2x binding tape
Sewing instructions:
You will need a sewing machine to sew this hat.
In addition to the description, the colorful lines in the pictures show you where a seam needs to be sewn or something to be glued.
When sewing, pay attention to the seam allowance included in the pattern. Seam allowances that are not specially marked are 1 cm wide!
Happy sewing!

First you take the blanks of the crowns and sew them together right sides together. Iron the seam allowances apart.

You also sew the lids right sides together into the previously closed crown.

Now work the brims right sides together and iron out the seam allowances here as well.

Place both brims right sides together and sew the curve. Iron the seam allowances in one direction to better overturn both layers of fabric.

Now sew the outer brim to one of the prepared crowns, right sides together. Then iron the seam allowance upwards.

Now stitch through the decorative ribbon from the outside and use it to secure the seam allowance at the top.

Now stitch a seam the width of a stitcher's foot all the way around the brim.

Prepare the ribbons by ironing them in and out twice according to the pattern.

Stitch a seam close to the edge, securing the layers of fabric together.

Sew the bands into position with an auxiliary seam the width of a stitching foot. Now stitch the inner brim to the inner crown, right sides together, but leave a 5cm opening to allow for the folds.

Invert your hat and close the opening with your hand.
Your UTA is ready!
If you don't know what to do, or if you have any questions, please send us an email to info@schnittmuster-berlin.de. We will answer you as soon as possible.
Have a lot of fun with your new designer piece!
Sincerely, your Sewing Pattern Berlin team.
