Sewing instructions for jacket Jade
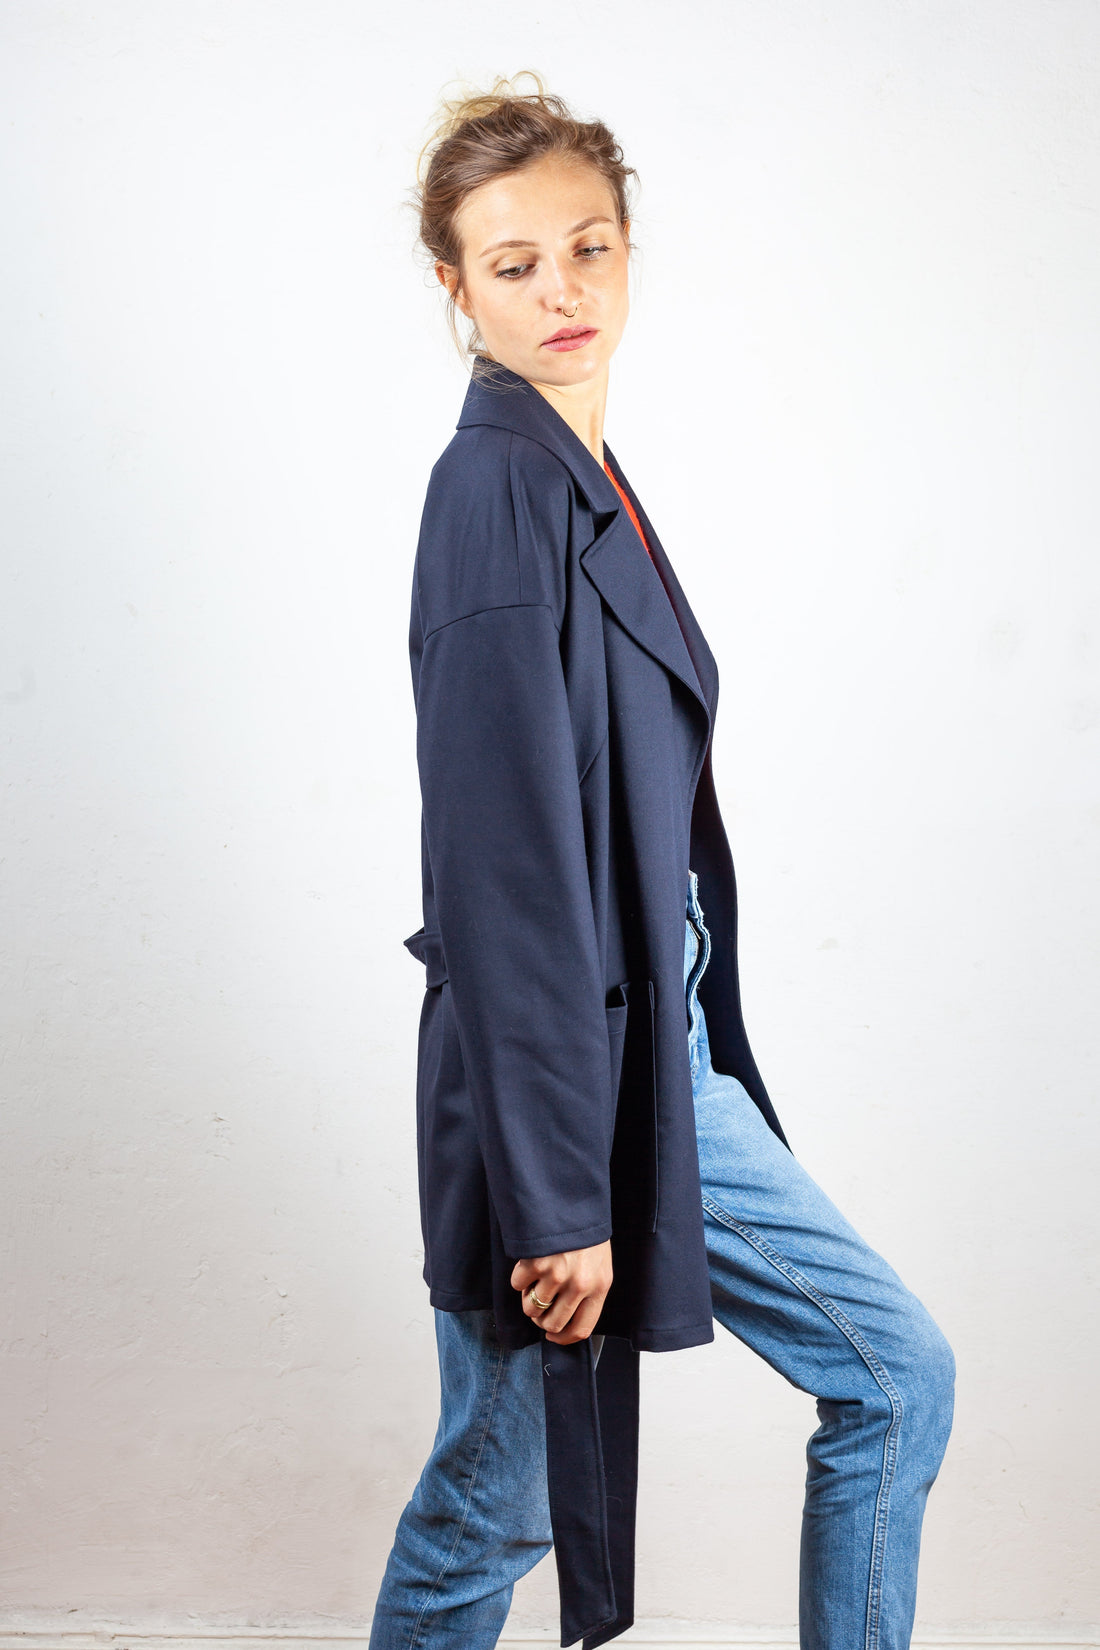
We kept the pattern for the Jade women's jacket deliberately simple. With patch pockets, a wide lapel collar, and dropped shoulders, the jacket looks beautifully casual, and a simple tie belt instead of a closure ensures a perfect fit. The jacket is unlined but has a longer cut, making it incredibly versatile, including in terms of fabric choices.
Length at the center back = 78 – 82 cm
Jade was sewn from virgin wool in this tutorial.
Required materials:
We recommend a slightly thicker jersey, wool or soft faux leather.
| Size 34-42 | Material | 2.30 m | 140 cm wide |
| Size 44-50 | Material | 2.80 m | 140 cm wide |
| Size 34-50 | insert | 1.10 m | 90 cm wide |
| Size 34-42 | Forming tape | 2.00 m | 1 cm wide |
| Size 44-50 | Forming tape | 2.20 m | 1 cm wide |
Cutting:
Seam allowances are included - 1cm wide or as per marking clips!
Cut out the pattern pieces from your outer fabric and interfacing. Lay the fabric right side up. Place the selvedges parallel to the center so you can place the top and under collar, the back facing, and the stand on the fold. The pattern pieces should all be laid with the writing facing up. Always align the grain arrow on all pieces in the same direction and parallel to the selvedge of the fabric. Transfer all notches from the pattern by making a 3mm slit with scissors or chalk and mark the ends of the darts. Notch the seam allowance on the fold, as this is always the center. Markings define the positions of dart ends, pocket positions, and much more. Transfer these either with chalk or pins. It's best to roughly cut all outer fabric pieces that will be completely covered with interfacing. After you have secured the interfacing, cut it out precisely. There is also a video here about gluing and fixing cut pieces.

You will need fabric:
- 2x front part opposite
- 2x back part opposite
- 2x sleeves opposite
- 2x bag
- 2x tie belts
- 1x loops


also with insert:
- 2x front part facing opposite
- 1x back part cover in the fold
- 1x upper collar in the fold
- 1x undercollar in the fold
- 2x bridge in the fracture
also with forming tape:
- 1x neckline on the front and back
- 2x front shoulder
- 2x armholes
Sewing instructions:
Seam allowances are included - 1cm wide or as per marking clips!
To sew this jacket you will need a sewing machine and an overlock sewing machine, or alternatively the zigzag stitch on your sewing machine to neaten the cut edges.
If you've decided on jersey, be sure to use a jersey needle and a stretchy stitch. This means that if you're using a home sewing machine, you should use either a zigzag stitch or a three-part stretch stitch. Then, finish all seam allowances with a zigzag stitch or another suitable stitch to prevent fraying. For thicker fabrics, you can use a slightly larger needle (e.g., 100/110). In addition to the description, the colored lines in the images show you where a seam needs to be sewn or glued.
When sewing, pay attention to the seam allowance included in the pattern. Seam allowances not specifically marked are 1cm wide!
Have fun sewing! 

Next, prepare the pockets for the front piece. To do this, neaten the bottom and side edges and press them 1cm over. Fold the top edge of the pocket twice 2cm and stitch it close to the edge.  Pin the prepared pocket to the markings on the pattern on the right side of the front piece, wrong sides together.
Then you stitch the bag close to the edge. 
Since the Jade jacket is made without a lining, all visible seam allowances, such as the side seams, center back, shoulder, and underarm seams, need to be finished separately. Close the center back of both back pieces, right sides together, and press the seam allowances open. 
You also close the shoulder seams, right sides together, and iron the seam allowances open. And also the  Close the side seams, right sides together, and iron the seam allowances apart.
Sew the belt loop together, right sides together, in a fold and trim the seam allowances slightly. 
Then turn the belt loop over using a safety pin and turn the seam allowance inside out. 
Iron the belt loops, centering the seam. Then trim them to 14cm. 
The belt loops are sewn on in a round shape. To do this, place them wrong sides together and sew them together to form a circle, using the width of your stitching foot. The notch in the side seam marks the position of the loop. Mark it with a pin. 
Then iron the seam allowance open, position the belt loop on the mark and stitch it on so that the seam allowances disappear underneath. 
Sew the stays, right sides together, to the upper and lower collars. Trim the seam allowances so they're easy to iron open and everything lies flat.  Stitch a seam on both sides close to the edge to secure the seam allowances.
Then, place the two collars on top of each other and sew them together, right sides together. You can either press the seam allowance to one side or sew it to the undercollar just next to the seam, which is called flat stitching. 
Now sew the short sections together, but only as far as shown in the photo. Trim the seam allowances at the corners so they're not too thick. 
Now turn the collar right side out, work out the corners and iron everything flat. 
Then neaten the shoulder seams of the facings, sew the front and back facings together, right sides together, and iron the seam allowances open. 
Turn the front facing, right sides together, with the front edge and lapel up to the arrow and iron the edge. 
Now we come to the collar's collapse. The seam from the upper collar is sewn to the front facing up to the notch. At the red mark, the seam should be 1 cm apart on both sides. 
Then place the facing on the front piece and sew the section from the edge to the notch. 
Finally, sew the seam from the undercollar to the front piece. Always make sure to sew only up to the notch and not beyond. Also, be sure to lock the seam ends securely. Repeat the last three photos for the other side of the collar. You can also take a look at the collar work from Quete. 
The collar stays are sewn together with the back neckline and the facing. At the red arrow, the seam allowance is trimmed just before the seam. This is what the finished collar looks like from the inside. 
The seam allowance is ironed apart and the two seam allowances marked with the red cross are placed on top of each other. 
Sew the seam allowances together slightly below the seam. 
Neaten the facing edge, iron over 1cm and topstitch close to the edge. 
Fold the hem twice 1.5cm, press it, and topstitch it close to the edge. Fold open the front facings and topstitch them. 
Double-press and double-press the sleeve hems according to the pattern, then neaten the inner arm seams individually, close them, and press them open. Finally, topstitch the sleeve hems close to the edge. 
Using the notches, insert the sleeves into the armhole, right sides together, and neaten the seam allowances together. 
Close the center back of the tie belt, right sides together, and iron the seam allowances open. Then, fold the belt, right sides together, and sew them together all the way around. Make sure to leave a small opening at the center back so you can turn the belt right side out later. Trim the seam allowance slightly at the corners. Then, using a safety pin or a wooden spoon (handle side), turn the belt through the small opening in the seam and iron it flat. 
Finally, stitch the belt all the way around, using the width of your stitching foot, and close the small opening. 
If necessary, the lapel, front edge and collar are also topstitched with a stitch the width of a quilting foot.  If you'd like, you can also topstitch the armhole to the width of your quilting foot. To do this, press the seam allowance into the body first.
I attached the front facings to the hem with a hanging stitch. You can also use this stitch to attach the back facing to the seam allowance. Finally, iron the jacket open.
Your JADE is ready!
If you're stuck or have any questions, please email us at info@schnittmuster-berlin.de. We'll respond as quickly as possible.
Have lots of fun with your new designer piece!
Sincerely, your Schnittmuster-Berlin team.