Sewing instructions for Lena dress
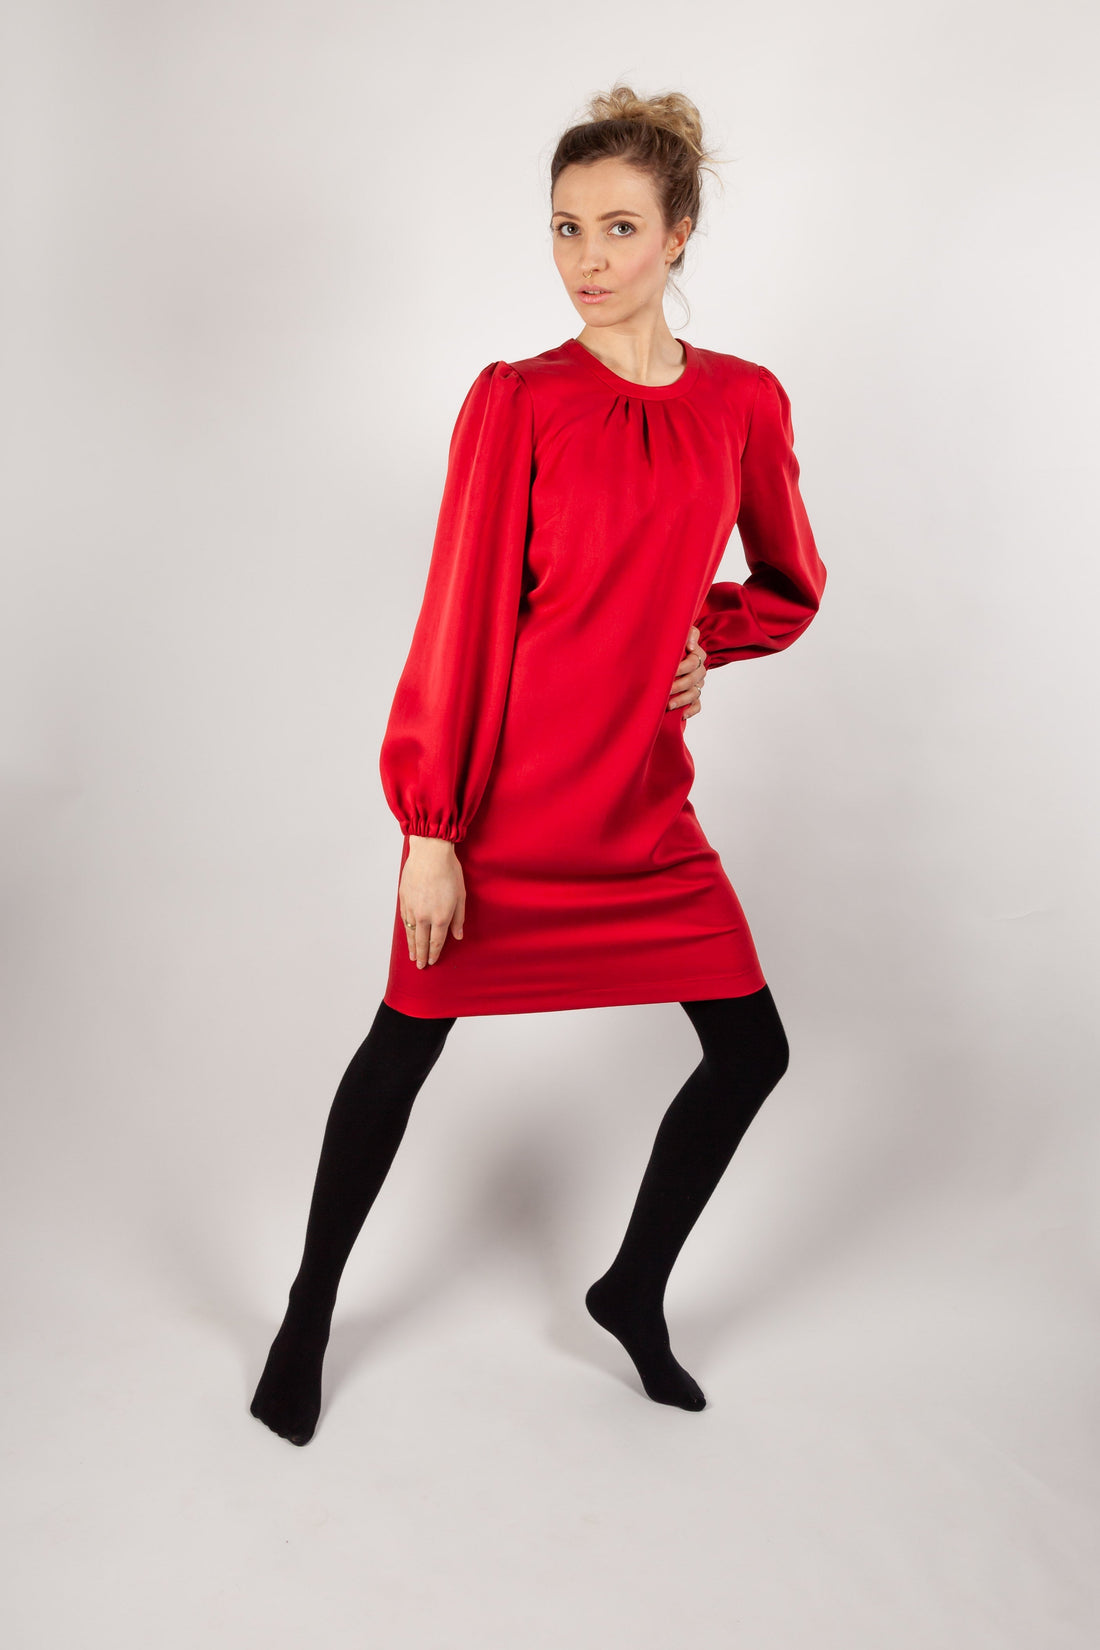
Depending on your choice of fabric, you can wear the Lena dress as an everyday dress or for special occasions. The front pleats at the neckline extend the entire length, giving the dress its airy width. The cut is still slightly tailored at the back, creating a very feminine look.
Length at the center back = 98 – 103 cm
Lena was sewn from Tencel in this tutorial.
Required materials:
We recommend viscose , thin wool , or Tencel . The fabric should be opaque, as the dress is unlined.
| Sizes 34-42 | Outer fabric | 1.90 m | 140 cm wide |
| Sizes 44-50 | Outer fabric | 2.60 m | 140 cm wide |
| Sizes 34-50 | insert | 0.20 m | 90 cm wide |
| Sizes 34-50 | rubber band | 0.50 m | 1 cm wide |
| Sizes 34-50 | Ripper | 1 piece | 35 cm long |
| Sizes 34-50 | Fixing tape | 0.70 m | 12 mm wide |
Cutting:
Seam allowances are included - 1cm wide or as per marking clips!
Cut out the pattern pieces from your outer fabric and interfacing. Lay the fabric right side up. Place the selvedges parallel to the center so you can place the front piece and front facing on the fold. The pattern pieces should all be laid with the writing facing up. Always align the grain arrow on all pieces in the same direction and parallel to the selvedge of the fabric. Transfer all notches from the pattern by making a 3mm slit with scissors or chalk and mark the ends of the darts. Notch the seam allowance along the fold, as this is always the center. Marks define the positions of dart ends, pocket positions, and much more. Transfer these either with chalk or pins. It's best to roughly cut all outer fabric pieces that will be completely covered with interfacing. After you have secured the interfacing, cut it out precisely. There is also a video here about gluing and securing pattern pieces.

 You will need fabric:
- 1x front part in the fracture
- 2x back part opposite
- 2x sleeves opposite
- 1x eyelet
 also with insert:
- 2x aperture-front in the break
- 4x rear panel, 2 x opposite each
Sewing instructions:
Seam allowances are included - 1cm wide or as per marking clips!
To sew this dress, you will need a sewing machine and an overlocker, or alternatively, you can use your sewing machine's zigzag stitch to neaten the raw edges. If you're using a zipper, you'll also need the appropriate presser foot for your sewing machine. The colored lines in the images, in addition to the description, show you where to sew or glue something.
When sewing, pay attention to the seam allowance included in the pattern. Seam allowances not specifically marked are 1cm wide!
Have fun sewing! 


If you're working with fabrics where the ironed material shows through and is visible on the right side, use a tool and slide it under the dart contents. We used a fleece-like rectangle (see photo). 


The slit in the back is prepared by double-pressing. Pay attention to the markings in the pattern. 

The shoulder and side seams, as well as the hems of the front and both back pieces, are finished all the way around. The hems of the front and both back pieces are then ironed and prepared. 
Sew the center back up to the beginning of the slit. Press the seam allowances open. 
Now you can topstitch the ironed slit and secure it. 
Now let's focus on the pleats in the front. Place them as described in the pattern and secure them with a stitch. 
Here you can see a detailed photo showing the direction in which the folds are placed. 
The front and back pieces are sewn together, right sides together, using the shoulder seam. Press the seam allowances open. 
Now you can set your prepared fabric aside and turn your attention to the sleeves. Here, too, the yellow-marked raw edges are neatened all around and the hems are ironed. 
The upper armhole is gathered from the front to the first back notch. Using a large stitch, the gathers on the sleeve can be created and brought to a length of 12 cm. Refer to the pattern for details. 
Here you can see a detailed photo with the gathers inside the armhole. 
Now you can sew the sleeves together, right sides together, and press the seam allowances open. Note the seam allowances indicated in the pattern. 
To finish the sleeve hem, fold it over and stitch all the way around. Make sure to leave a small hole for the safety pin and elastic. 

Cut the elastic to the correct length and insert a safety pin through it. Then pull both through the hole you left open and through the tunnel. 

Finally, sew the elastic together and distribute the width evenly throughout the sleeve. Don't forget to close the hole for the elastic. 
The eyelet in the center back is used to close the slit. Sew these together, right sides together. Here's a video for a better understanding.
 Using a needle and a thick thread, the eyelet is pulled through, turned over and trimmed.
The seam allowance then fills the contents of the tube. Your eyelet is finished. 
Now, move on to the facing pieces. Sew the shoulder seams of the front and back facings together, right sides together. Then, iron the seam allowances open. 
Your prepared eyelet is sewn to the facing on the left side of the body with a gap of 0.5 cm. 
Here you can see a detailed photo of how we sewed on the eyelet. 
The inner panel is also provided with a shaping tape. Iron this on after finishing the panel. Note: We are covering the inner panel because with our fabric, there's a risk that the shaping tape would show through here as well, making it visible on the outer panel. 
Press the raw edge of the inner facing over 1 cm all the way around. You can also neaten the lower raw edge of the inner facing; this makes it easier to sew later. Then, place the inner facing, right sides together, against the outer facing and turn it all the way around (see yellow lines). Clip the seam allowances so that the curve will lie nicely later. 

Here you can see a detailed photo of the flat-stitched seam allowance. 
You can now sew the outer facing to the neckline of the front and back pieces. Pay attention to the notches in the pattern and the matching shoulder seams. There will be 1cm of excess facing at the center back; you'll need this extra centimeter to turn out the shorter sections. 
Fold the open ends of the center-back facing, right sides together, and turn them together. The ironed centimeter remains folded up. Then, very carefully, iron the seam allowances of the facing and the neckline upwards into the facing. 
Here you can see a detailed photo with the half-sewn panel in the neck hole. 
Now all you have to do is sew the facing in place. We recommend pinning it in place and then topstitching it in the shadow of the seam. This will secure the 1cm ironed raw edge of the inner facing in place, close to the edge. 
The Lena dress has a concealed zipper on the left side. To prevent it from tearing on softer fabrics, we've added shaping tape along the corresponding zipper length on both sides. 
First, the left side seam is only partially closed, right sides together (the bottom seam is approximately 3 cm long), so that the dress remains as open as possible and makes it easier to repair the zipper. Pay attention to the notches in the pattern. 
 Here we show you which feet are suitable for the seam zipper.

Sew the seam ripper into the side seam on the front and back pieces. 
Here you can see a detailed photo of the sewn-in seam ripper. 
Then you can close the remaining left side seam. Press the seam allowances open. 
The side seam on the right side of the body can now be placed, right sides together, and sewn together. The seam allowances are then ironed open. 
The finished sleeve is pinned into the armhole and sewn together, right sides facing. Pay attention to the notches in the pattern. Here you can adjust the gathers and bring them to the correct length. The seam allowances are neatened together. 
Now let's move on to the penultimate step of your new dress: the ironed hem is stitched. 
Finally, sew your button onto the panel on the right side of your body.
Your LENA is ready !
If you're stuck or have any questions, please email us at info@schnittmuster-berlin.de. We'll respond as quickly as possible.
Have lots of fun with your new designer piece!
Sincerely, your Schnittmuster-Berlin team.