Sewing instructions Fanny dungarees
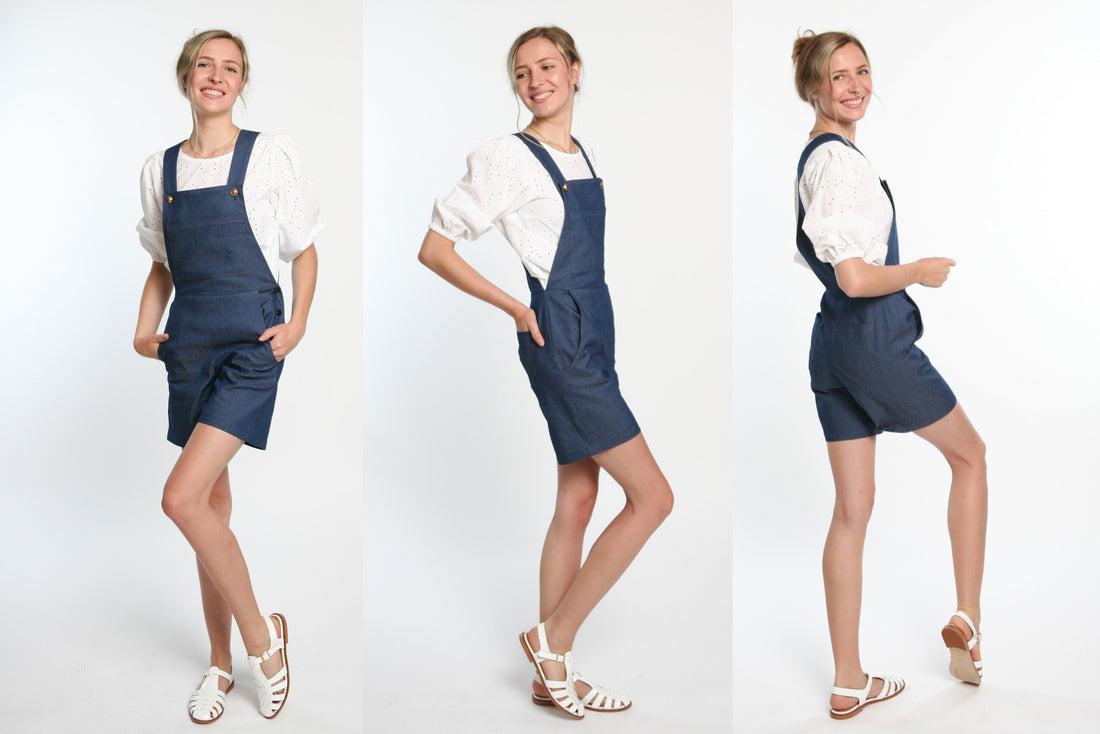
Our dungarees Fanny is a classic that is enjoying great popularity again. Do you have good memories of your dungarees days? Then we have the right one Pattern for you, Fanny is now in one short and long version. The dungarees has a side button closure, large side pockets and of course patch pockets on the bib and bottom.
Side length = shorts 43 - 47 cm, long version 109 cm
In these instructions, Fanny was sewn from denim.
Required material:
We recommend denim or cotton.
Sizes 34-42
- Outer fabric 1.50m / 2.30m (140cm wide)
Sizes 44-50
- Outer fabric 2.10m / 2.60m (140cm wide)
Sizes 34-50
cutting:
Cut out the pattern pieces from your outer fabric and interlining. Lay the fabric right side up. The pattern pieces should all be face up. Always align the grain arrow on all pieces in the same direction and parallel to the selvedge of the fabric. Transfer all the notches from the pattern through a 3mm long incision with scissors or chalk. Markings define positions of dart ends, pocket positions, etc. Transfer these either with chalk or pins. It is best to first roughly cut all outer fabric parts that are completely covered with an interlining. After you have fixed the insert, cut it out exactly. There is also a video about gluing and fixing pattern pieces here.


You need from fabric:
- 2x back part at the top in the fold
- 2x hind trousers in opposite directions
- 4x carriers, 2 each of the same kind
- 2x pockets on the back
- 1x front pocket
- 2x front piece at the top of the fold
- 2x front trousers in opposite directions
- 2x pocket bags in opposite directions


also with insert:
- 1x slip slip
- 1x receipt of transfer
- Buttonhole position on left side body pocket bag
also with band:
- 2x engagement pocket pouches
Sewing instructions:
To sew these pants you need a sewing machine and an overlock sewing machine, alternatively you can use the zigzag stitch on your sewing machine to finish the raw edges.
In addition to the description, the colorful lines in the pictures show you where a seam needs to be sewn or something to be glued.
When sewing, pay attention to the seam allowance included in the pattern. Seam allowances that are not specially marked are 1 cm wide!
Happy sewing!

Start processing the front patch pocket. Iron the seam allowances 1cm around and double in and around the opening. Topstitch the engagement close to the edge.

Stitch the bag close to the edge and stitch foot wide on one of the upper front parts.

Lay the second upper front piece on the first, right sides together, and stitch through the sides and top.

Turn over the bib of the trousers and topstitch it narrowly at the edge and the width of your stitching foot.

Place the cut pocket pouches right sides together on the front pants and stitch through 1cm. Blend or clip the curve a bit.

Turn the pocket bag inside out and topstitch the opening just under the edge and the width of a stitching foot.

Iron the pocket bag in the fold and topstitch it shut at the bottom. Neat the seam allowances together.

Secure the pocket pouch on the side and top of the pants with an auxiliary seam.

Neaten the curve of the facing transition and iron over the seam allowance.

Then stitch through the width of a stitching foot.

Sew the slip to the pocket pouch on the left front trousers, right sides together. Pay attention to the seam allowances in the pattern.

Here you can see a detailed photo of the sewn transition.

Fold the transition inwards. Iron the hems in and out according to the pattern.

Now take the straps of the dungarees and sew the opposite pieces together right sides together along one of the long stretches, so you can then iron the seam allowance apart,...

... place right sides together and close the other stretch. Iron out the seam allowance here as well.

Turn the straps right side out and topstitch them with a seam close to the edge and the width of a stitching foot.

Lay the finished straps right sides together on one of the upper back parts and stitch them down with an auxiliary seam the width of a stitching foot.

Then place the second back piece on top of the first, right sides together, and stitch both together. To do this, push the straps to the side so that you don't sew them in place. Cut away the seam allowances of the corners and slightly cut the curves.

Turn the back bib right side out and topstitch it with a seam just under the edge and a stitching foot wide.

A simple, straight dart is closed and sewn on the wrong side of the fabric, snap by snap, tapering from the widest point to the tip

Process the back pockets as follows. Iron the seam allowances 1cm around and the fly twice and over. Stitch the pocket opening just under the edge.

Position the pockets on the markings of the pattern and topstitch them close to the edge and one foot wide. Iron the hems in and out according to the pattern.

Iron the receipt slip left to left in the fold.

Lay the underlay right sides together and step through the short stretches.

Stitch the underlap to the side seam of the back trousers, right sides together.

Now close the side seam of the left pant leg up to the marking and neaten the seam allowances. Iron them backwards.

You also neaten the seam allowances of the underlay together.

Sew the side seam of the right pant leg right sides together and neaten the seam allowances. Iron them backwards.

Place the trouser legs right sides together and sew the inseam. Neat the seam allowances together and press them to the back.

Sew the seat seams right sides together and neaten the seam allowances together.

Now sew the front bib right sides together onto the front pants...

... and you collapse the transition as shown in the photo. Neat the seam allowances together and then iron them down.

Here you can see a detailed photo of the processed transition.

Sew the back bib to the back pants, right sides together, and neaten the seam allowances. Iron these down as well.

Matching buttons and buttonholes are still missing. First pierce the buttonholes and then define the height of the buttons after trying them on.

Buttonholes and buttons for closing should not be missing on the left side of the body either.

Stitch the ironed hem just under the edge.
Your FANNY is ready !
If you don't know what to do, or if you have any questions, please send us an email to info@schnittmuster-berlin.de.
We will answer you as soon as possible.
Have a lot of fun with your new designer piece!
Sincerely, your Dagmar and Ellen.
