Sewing instructions skirt Aylin
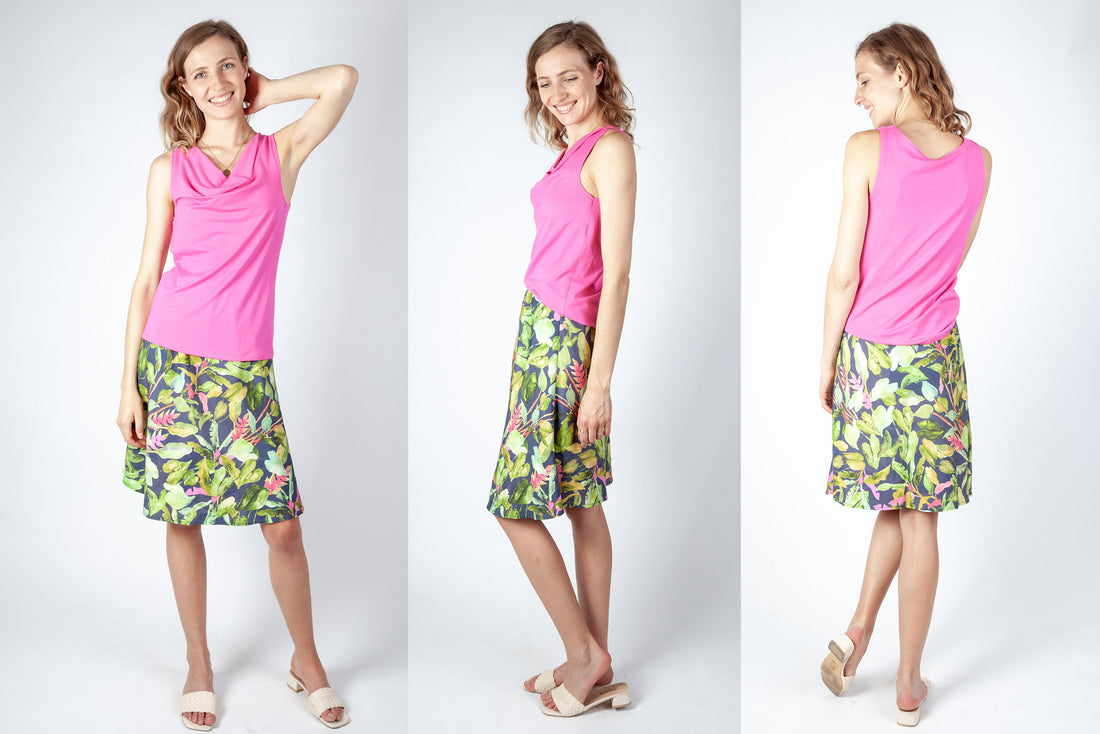
Skirt Aylin consists of only two pieces of fabric and two pieces of lining, which are laid diagonally into the fabric. As a result, the summer skirt nestles wonderfully to the body and has a nice width at the hem. If you use an opaque fabric, you do not need a lining skirt, but you can overturn the narrow elastic band with the upper edge and fold it inwards. We recommend a flowing fabric such as viscose or chiffon.
Length at center back = 52 - 59 cm
In these instructions, Aylin was sewn from a viscose fabric.
Required material:
We recommend a flowing fabric such as silk, viscose or chiffon.
Sizes 34-42
- Outer fabric 1.50m (140cm wide)
- Lining 1.40m (140cm wide)
Sizes 44-50
- Outer fabric 1.90m (140cm wide)
- Lining 1.70m (140cm wide)
Sizes 34-50
- Elastic band 70-110cm (1cm wide)
cutting:
You can also cut and sew the skirt Aylin without lining. I will show you how to do this at the end of my sewing instructions. Cut out the pattern pieces from your outer and lining fabric. Lay the fabric right side up. Lay them at an angle to the selvedge so that you can cut the front, back and lining along the grain. The pattern pieces should all be face up. Always align the grain arrow on all pieces in the same direction and parallel to the selvedge of the fabric. Transfer all the notches from the pattern through a 3mm long incision with scissors or chalk. Pinch the seam allowance in the fold of the fabric because this is always a center. Markings define positions of dart ends, pocket positions, and much more. Transfer these either with chalk or pins.


You need from fabric:
- 1x front part in the oblique FDL
- 1x back piece in the sloping FDL

From lining you need:
- 2x VT/RT in the oblique FDL
Sewing instructions:
To sew this skirt you need a sewing machine and an overlock sewing machine, alternatively you can use the zigzag stitch of your sewing machine to finish the raw edges.
In addition to the description, the colorful lines in the pictures show you where a seam needs to be sewn or something to be glued.
When sewing, pay attention to the seam allowance included in the pattern. Seam allowances that are not specially marked are 1 cm wide!
Happy sewing!

First you mark the front part of your skirt with a V-notch in the center front. So you can easily distinguish between the two skirt parts. In addition, the back part is also a bit longer.

Place the front and back pieces right sides together and close the side seams according to the pattern. Neat the seam allowances together and then iron them to the back.

Do the same with the lining skirt.

The hem is neatened all around and ironed upwards according to the pattern.

Do the same with the lining skirt.

Then stitch the ironed hem in place.

Do the same with the lining skirt.

Now put the lining skirt right sides together over the outer skirt and overturn both skirts together. Turn everything right side out.


Now you prepare the tunnel for the rubber. Start the 1.5cm wide seam at the side seam and end 2-3cm in front of it. This leaves an opening to pull the elastic through with a safety pin.

Here you can see my opening on the side.

Cut the elastic to the appropriate length for your slightly dropped waist and secure with a safety pin. You slide this between the lining and the outer fabric into the opening through the tunnel.

The elastic is sewn together and the opening closed.
Your AYLIN WITH LINING is ready !
I'll show you here how you can sew up the Aylin skirt without a lining:

Process the side seams and hems of the skirt as described. Also neaten the upper seam all around.

Cut the elastic to the right length and close it in a circle. Mark half with a pin.


Pin the elastic with the marked points to the side seams on the right side of the fabric and stitch the elastic close to the edge.

Finally, fold the elastic over and stitch through at 0.7cm from the edge.
Your AYLIN WITHOUT LINING is ready!
If you don't know what to do, or if you have any questions, please send us an email to info@schnittmuster-berlin.de. We will answer you as soon as possible.
Have a lot of fun with your new designer piece!
Sincerely, your Dagmar and Ellen.
