Sewing instructions for Eileen wrap dress
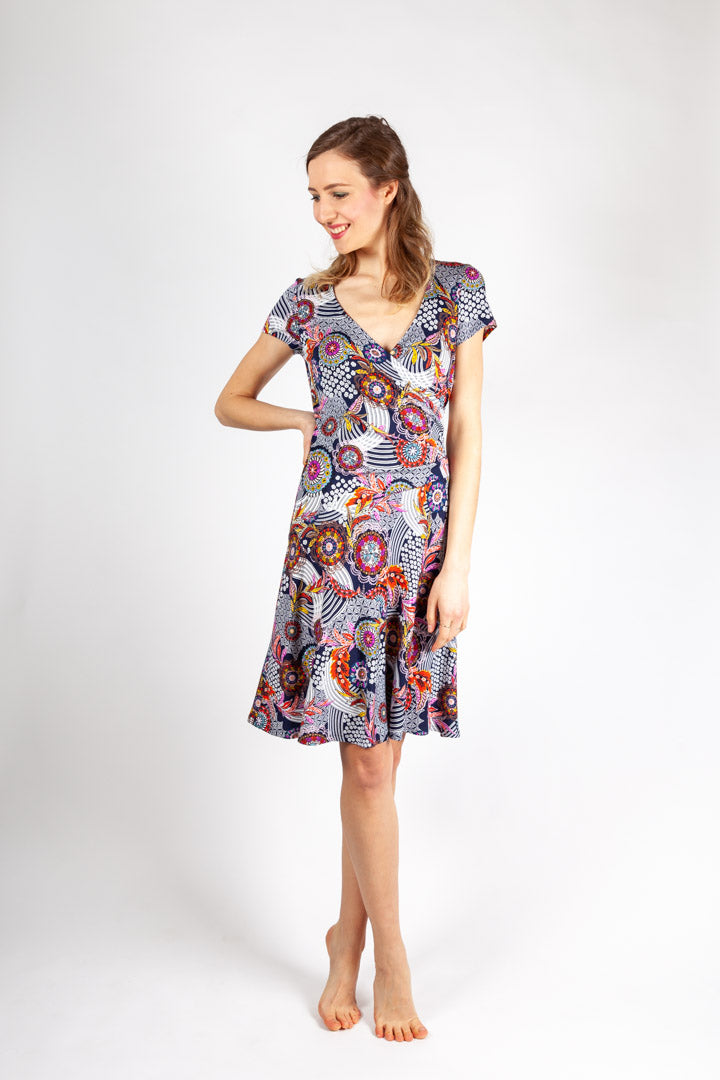
Our wrap dress is a true highlight for your summer wardrobe. The pleated waistline both emphasizes and conceals the feminine cut. The attached skirt is slightly flared and beautifully flowing.
Length at the center back = 94 – 98 cm
Eileen was sewn from viscose jersey in this pattern, so no extra seam ripper is needed. You should also cut the jersey dress one size smaller!
However, if you are sewing this dress from a sturdy fabric, you will definitely need an in-seam zipper.
Required materials:
We recommend a flowing jersey fabric (without seam ripper), silk or viscose (with seam ripper).
| Sizes 34-42 | Outer fabric | 2.10 m | 140 cm wide |
| Seam zipper | 1x | 35 cm long | |
| Sizes 44-50 | Outer fabric | 2.60 m | 140 cm wide |
| Seam zipper | 1x | 35 cm long |
Cutting:
Seam allowances are included - 1cm wide or as per marking clips!
Please note: If you are making a jersey dress, you should cut it one size smaller! The neckline ribbon does not need to be cut on the bias. Cut out the pattern pieces from your outer fabric. Lay the fabric right side up. The pattern pieces should all be laid out with the writing facing up. Always align the grain arrow on all pieces in the same direction and parallel to the selvedge of the fabric. Transfer all notches from the pattern by making a 3mm long snip with scissors or chalk and mark the ends of the darts. Notch the seam allowance on the fold of the fabric, as this is always the center. Markings define the positions of dart ends, pocket positions, and much more. Transfer these either with chalk or pins. 


You will need fabric:
- 1x skirt-front
- 1x skirt-front-bottom
- 2x band cutout
- 1x skirt-back
- 1x skirt-back-bottom
- 2x sleeves opposite
- 1x front part underlap
- 1x front part upper step
- 1x back part
Sewing instructions:
Seam allowances are included - 1cm wide or as per marking clips!
To sew this dress you will need a sewing machine and an overlock sewing machine, or alternatively the zigzag stitch on your sewing machine to neaten the cut edges.
Be sure to use a jersey needle and a stretchy stitch. This means that if you're using a home sewing machine, you should use either a zigzag stitch or a three-part stretch stitch. Then, finish all seam allowances with a zigzag stitch or another suitable stitch to prevent fraying. If you're using a seam zipper, you'll also need the appropriate presser foot for your sewing machine. The colored lines in the images show you, in addition to the description, where to sew or glue a seam.
When sewing, pay attention to the seam allowance included in the pattern. Seam allowances not specifically marked are 1cm wide!
Have fun sewing ! 

The front piece on the right side of the body has upward-opening pleats, which will be worked on later. Use the markings and pleat directions in the pattern as a guide. 

Place the shoulders of the front and back pieces together, right sides together, and sew them together. Neaten the seam allowances and press them back. 
Place the neckline ribbons (no extra bias because jersey fabric was used) on top of each other, right sides together, sew them together and iron the seam allowances open. 
Place the ribbon, wrong sides together, in the fold. For better stability and strength of the jersey, we've sewn an extra auxiliary seam every 0.8 cm on our ribbon. Please note that the ribbon needs to be held in place slightly! 
The prepared neckline tape is placed, right sides together, against the neckline and stitched in place. The seam allowance is then ironed down. 
Here you can see a detailed photo of the sewn and ironed ribbon at the neckline. 
The prepared sewn-on ribbon is then ironed inwards once more and sewn close to the edge. 
Here you can see a detailed photo of the finished cutout inside. 
Now take both front pieces. Place the front flap (with visible pleats) on the right side of the body, wrong sides together, on the front flap (with the bust dart) on the left side of the body and sew them together all the way around with a stitch. 
Now place the back piece, right sides together, under the two front pieces and sew the side seams together. Finish the seam allowances together and press them back. 
Now let's move on to the front of the skirt: Close the seams of the skirt front and bottom, right sides together. Neaten the seam allowances together and then press them down. 
Do the same with the back skirt pieces. 
Now place both prepared skirt pieces together, right sides together, and close the side seams. The seam allowances are neatened together and ironed to the back. 
Now place the torso, right sides together, against the skirt piece and sew them together. Neaten the seam allowance and press it upwards. 
Place the sleeves of your dress, right sides together, sew them together, and neaten the seam allowances. Press the seam allowances to the back. 
Then neaten the cut edge of the hem, iron using the notches and stitch the hems. 
The prepared sleeves are inserted, right sides together, into the corresponding armhole and sewn together, neatening the seam allowances together. 
Finally, neaten and press the raw edge of the hem. Stitch everything in place with a 1cm seam.
Your EILEEN is ready !
If you're stuck or have any questions, please email us at info@schnittmuster-berlin.de. We'll respond as soon as possible.
Have lots of fun with your new designer piece!
Sincerely, your Schnittmuster-Berlin team.