Sewing instructions for the Jahel wrap dress
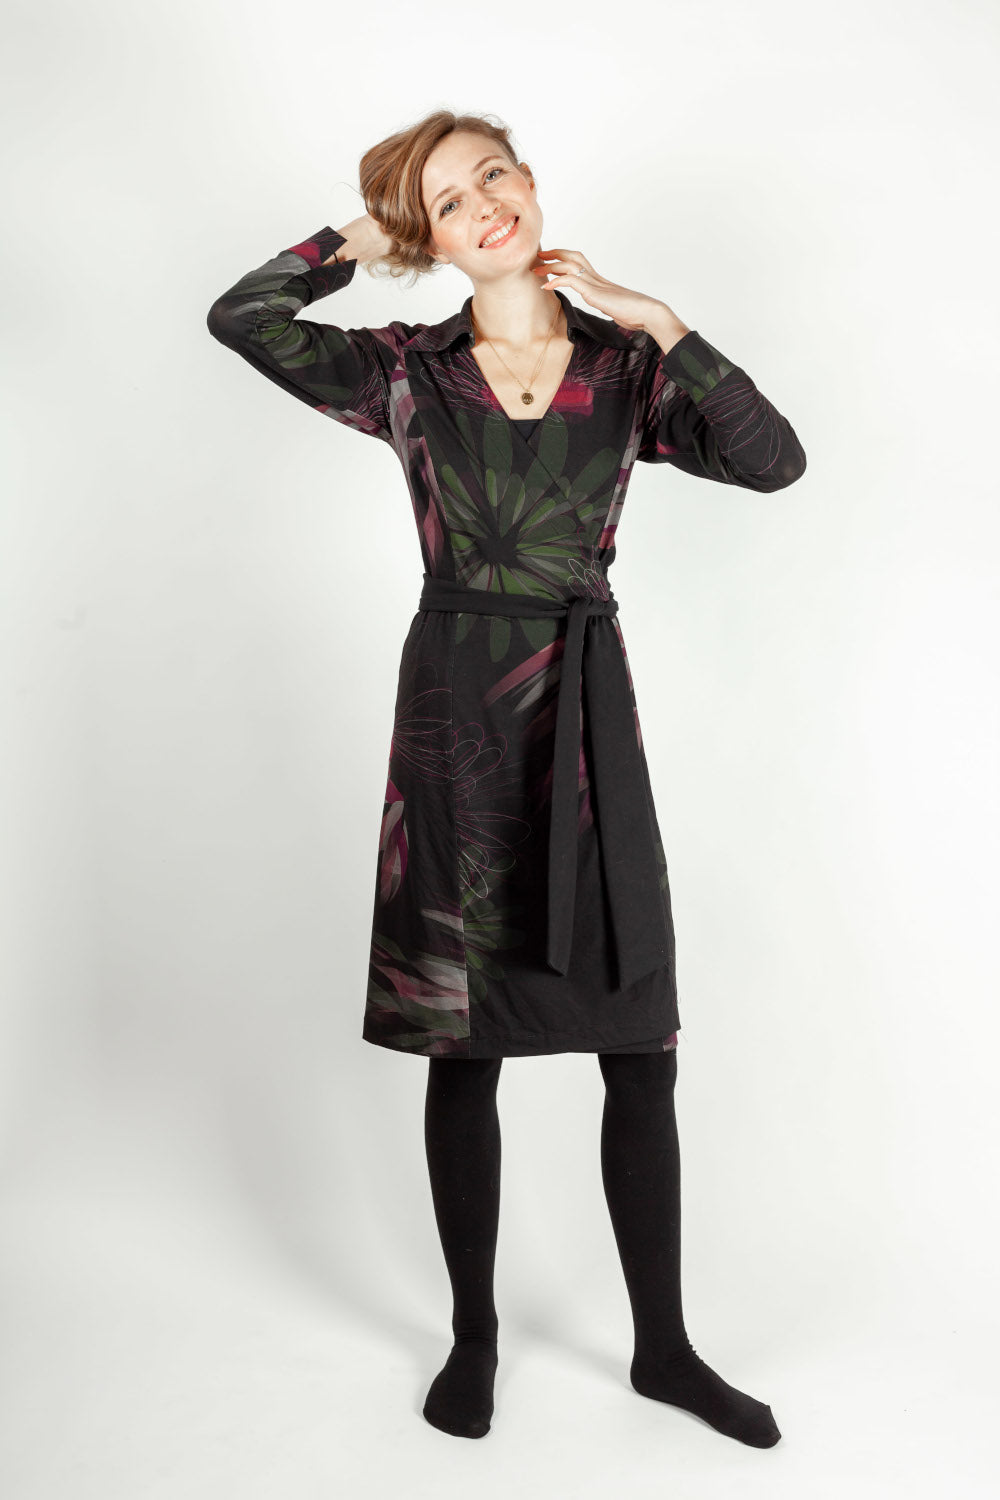
The Jahel dress is a classic wrap dress. The tie belt ensures a perfect fit and beautifully conceals any minor sizing discrepancies. Crafted from jersey fabric, it's perfectly suitable for everyday wear, while a fine silk fabric makes Jahel the perfect dress for a special occasion.
Length at the center back = 103 – 109 cm
Jahel was sewn from jersey in this tutorial.
Required materials:
We recommend a flowing jersey fabric or a silk with elastane, opaque, as the dress is unlined.
| Size 34-42 | Outer fabric | 2.80 m | 140 cm wide |
| insert | 1.20 m | 90 cm wide | |
| Size 44-50 | Outer fabric | 3.50 m | 140 cm wide |
| insert | 1.20 m | 90 cm wide |
Cutting:
Seam allowances are included - 1cm wide or as per marking clips!
Cut out the pattern pieces from your outer fabric and interfacing. Lay the fabric right side up. Place the selvedges parallel to the center so you can place the front, upper collar, undercollar, back facing, and collar stands on the fold. The pattern pieces should all be laid with the writing facing up. Always align the grain arrow on all pieces in the same direction and parallel to the selvedge of the fabric. Transfer all notches from the pattern by making a 3mm slit with scissors or chalk and mark the ends of the darts. Notch the seam allowance along the fold, as this is always the center. Markings define the positions of dart ends, pocket positions, and much more. Transfer these either with chalk or pins. It's best to roughly cut all outer fabric pieces that will be completely covered with interfacing. After you have secured the interfacing, cut it out precisely. There is also a video here about gluing and fixing cut pieces.


You will need fabric:
- 1x back part in the fracture
- 2x side parts opposite
- 2x front part opposite
- 2x sleeves opposite
- 1x band upper step
- 1x band underlay


also with insert:
- 2x collar stay in the fold
- 1x upper collar in the fold
- 1x undercollar in the fold
- 1x receipt at the back of the break
- 2x front receipt opposite
- 1x Receipt opening for belt passage
- 2x cuff opposite
- 1x side part of the right side of the body


also with forming tape:
- 2x receipt front
- 1x receipt at the back
Sewing instructions:
Seam allowances are included - 1cm wide or as per marking clips!
To sew this dress you will need a sewing machine and an overlock sewing machine, or alternatively the zigzag stitch on your sewing machine to neaten the cut edges.
Be sure to use a jersey needle and a stretchy stitch. This means that if you're using a home sewing machine, you should use either a zigzag stitch or a three-part stretch stitch. Then, finish all seam allowances with a zigzag stitch or another similar stitch to prevent fraying. The colored lines in the images show you, in addition to the description, where a seam needs to be sewn or glued.
When sewing, pay attention to the seam allowance included in the pattern. Seam allowances not specifically marked are 1cm wide!
Have fun sewing! 
First, take the smallest pattern piece, the facing opening, and turn over the opening in the side panel on the right side of the body. To do this, press the seam allowances 1cm all the way around. 
The small facing is placed, right sides together, in the middle of the marked points and a rectangle the width of the quilting foot is stitched through. 
Next, cut inside the rectangle: Start in the middle of the opening and cut both layers of fabric exactly along the center line, about 1 cm before the vertical end mark. Now cut diagonally from the end of your cut to just before the corner. Make these diagonal cuts on each side, top, and bottom. 
Now the small rectangular piece of fabric can be turned inside out. This means turning it right sides together to wrong sides together. Secure the facing by stitching it close to the edge. 
There's a dart in the front at waist level.


Now all the pieces can be joined together. The front piece is joined to the side piece, right sides together. Then the side piece is joined to the back piece, and so on. The shoulder seams are closed. All seams are neatened together and pressed to the center back or front. 
Next, prepare the bands. The upper and lower flaps will be sewn at the same time. Fold the upper flap band in half and close the seam with a 1cm seam allowance. Stop before the bias; you'll add this later so you can iron the seam allowances open more easily. 
Now you can sew the bias and trim the seam allowances at the corners so that the corner doesn't become too thick when turned and can be folded flat. The corners are finished and ironed. 
This is what the finished, turned and ironed tie looks like. 
Next, the upper collar and lower collar are sewn together. The slight extra width in the upper collar must be maintained when facing; this is called the roll width. This allows the collar to hang nicely when worn, preventing the corners from sticking up. 
… then turn over and iron flat. 
The two collar stands are sewn together, right sides together, along the short sides, and the seam allowances are ironed open… 
… and sewn to the previously prepared upper/lower collar, right sides together, with 1cm. 
You should also iron these seam allowances apart so that the area doesn't become too thick. 
This is what your finished ironed collar will look like. 
Finally, sew the collar, right sides together, into the neckline with a 1cm seam allowance. Note: I placed a white sheet of paper between the collar and the dress in the photo for a clearer view, as it's a patterned fabric. 
Now let's sew on the ties. These are located between the front piece and the facing, which will later be sewn on in one go. Pay attention to the notches marked in the pattern and, right sides together, place the upper flap tie on the right side of the body and the lower flap tie on the left side. Secure both with a stitch the width of your quilting foot. 
Sew the sleeves together and then neaten the seam allowances. Press the seam allowances to the back. 
Iron the cuffs, wrong sides together, in the fold to prepare them. Then, place the cuffs right sides together to create the slit (see photo). Stitch the seam 1cm up to your notch and iron the seam allowances open. 
Then the fold is laid (as previously ironed) and the opening is closed with 1cm. 
This is what your finished cuff with slit looks like. 
Now you can finish your sleeve by sewing the cuffs together, seam to seam, right sides together. Finish the seam allowances together and press them upwards. 
The lower cut edge of the back facing is neatened,… 
… as well as the inside pages of the receipt at the front. 
Place the facings together at the shoulders, right sides together, sew them together and iron the seam allowances open. 
Then place the prepared facing, right sides together, against the front piece and stitch all the way around. Note the notches in the pattern. 

Next, the seam allowance of the facing and front piece is stitched flat, as far as possible . This method not only makes it easier to iron, but also ensures that the facing, if not topstitched separately, will automatically tuck in. Only the facing is stitched onto the seam allowance, close to the edge. The stitching line is then visible only from the inside left, not from the right. 
Neaten the hem all the way around and then press it according to the pattern. Use the notches in the pattern as a guide. Stitch the hem at 2.8 cm. 
The facing is then ironed and stitched. Once close to the front edge, and the second stitch line secures the facing. 
Finally, sew the sleeves, right sides together, into the correct armhole. Use the notches in the pattern as a guide. Neaten the seam allowances together.
Your JAHEL is ready !
If you are stuck or have any questions, please feel free to contact us by email at info@schnittmuster-berlin.de. We will respond as soon as possible.
Have lots of fun with your new designer piece!
Sincerely, your Schnittmuster-Berlin team.