Sewing instructions jacket Giselle
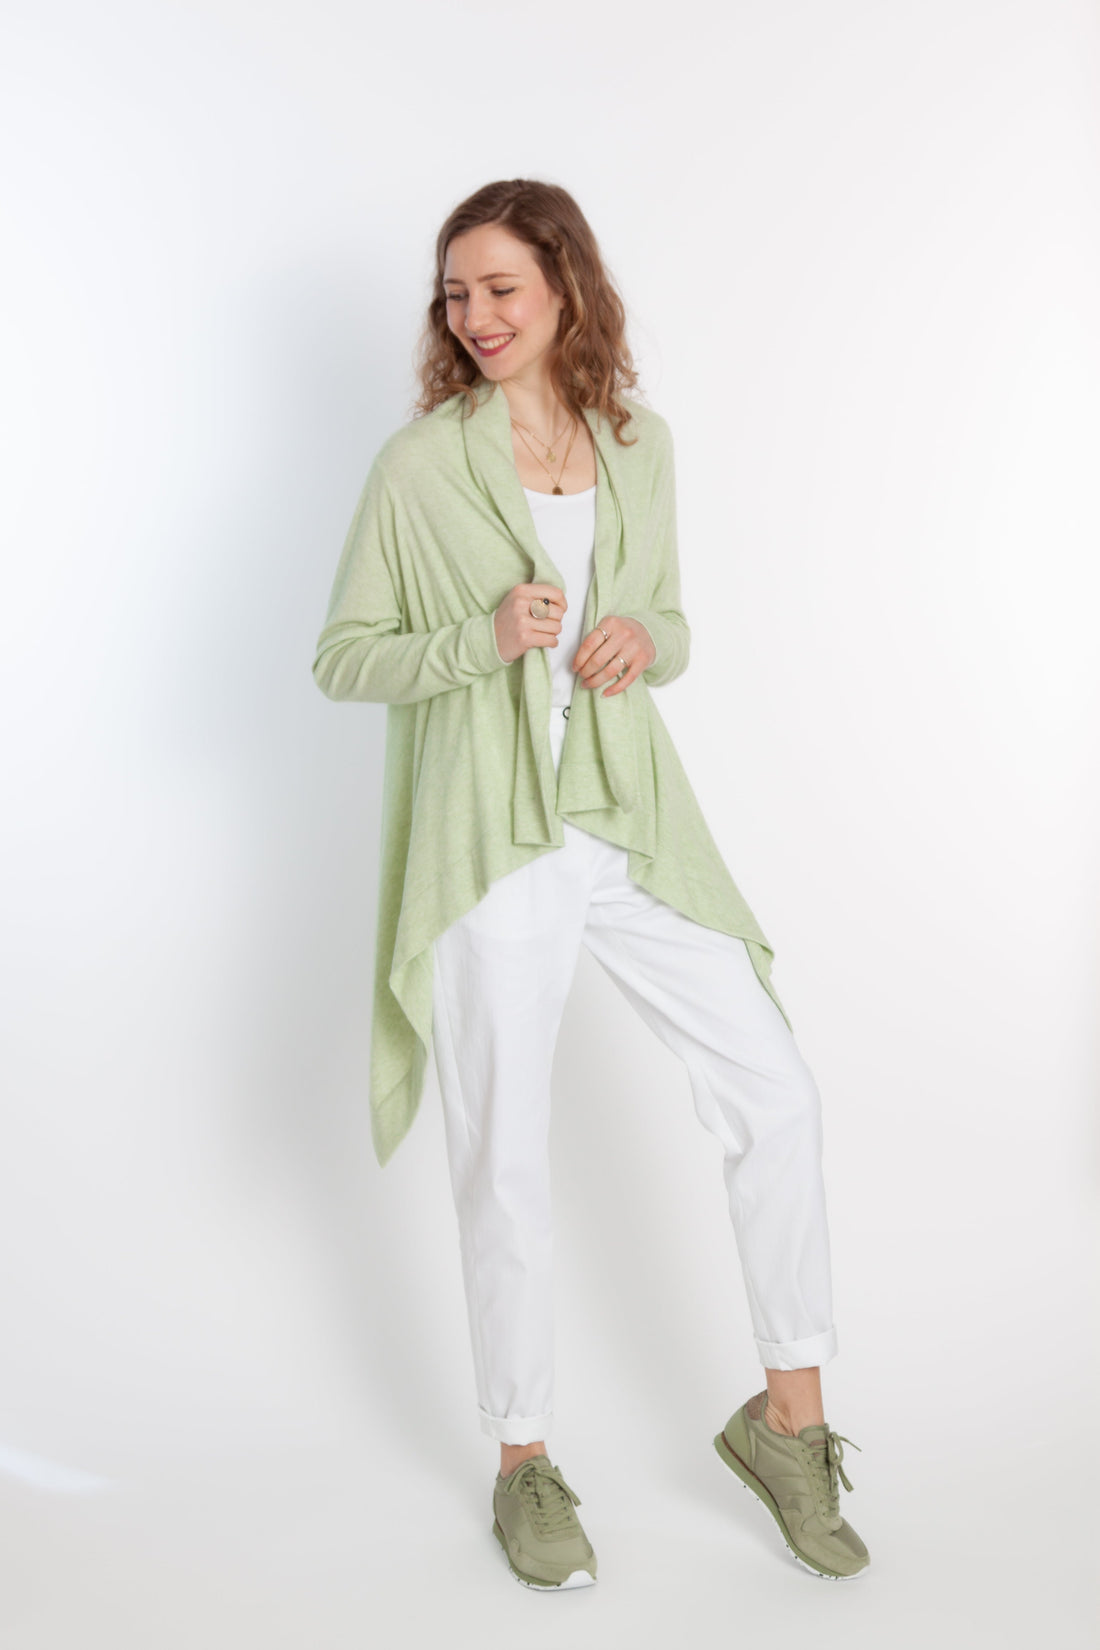
Our Giselle Jacket pattern features a truly sophisticated cut. The jacket consists of just three pieces: a rectangle and the two sleeves. This makes it super straightforward and easy to sew. Nevertheless, Giselle is visually very special, as its rectangular shape creates a stunning waterfall collar.
Length at the center back = 61 - 67 cm
Giselle was sewn from a soft knit in this tutorial.
Required materials:
We recommend a soft jersey or knit fabric.
| Sizes 34-38 | Outer fabric | 1.60 m | 140 cm wide |
| Sizes 40-44 | Outer fabric | 2.30 m | 140 cm wide |
| Sizes 46-50 | Outer fabric | 2.45 m | 140 cm wide |
Cutting:
Seam allowances are included - 1cm wide or as per marking clips!
Make sure you place the front and back pieces across the grain, otherwise the larger sizes won't fit on the 1.40cm width. Cut out the pattern pieces from your outer fabric. Lay the fabric right side up. Place the selvedges parallel to the center so you can place the front and back pieces on the fold. The pattern pieces should all be laid with the writing facing up. Always align the grain arrow on all pieces in the same direction and parallel to the selvedge of the fabric. Transfer all notches from the pattern by making a 3mm long cut with scissors or chalk. Notch the seam allowance on the fold, as this is always the center. Markings define the positions of darts, pocket positions, and much more. Transfer these either with chalk or pins.


You will need fabric:
- 1x front part & back part in the fold
- 2x sleeves opposite
Sewing instructions:
Seam allowances are included - 1cm wide or as per marking clips!
To sew this jacket you will need a sewing machine and an overlock sewing machine, or alternatively the zigzag stitch on your sewing machine to neaten the cut edges.
In addition to the description, the colored lines in the pictures show you where a seam needs to be sewn or something needs to be glued.
When sewing, pay attention to the seam allowance included in the pattern. Seam allowances not specifically marked are 1cm wide!
Have fun sewing !
In this video, Christel shows you how to work with a letter corner.
Begin your first sewing step by pressing the hems and edges of the front and back pieces 1cm. Place the letter corners together, right sides together, and iron the seam allowances open.

Here you can see the collapsed corner of the letter.

Now pin the fold of the jacket and use it to fix the lines.

Now you can place your edges under the sewing machine and stitch them close to the edge.

Also iron the hems of the sleeves first 1 cm, then 4 cm.

Place the sleeves together, right sides together, close the inner sleeve seam, and neaten the seam allowances. Press the seam allowances to the back.

Pin the hems of the sleeves together.

And stitch them close to the edge.

Finally, sew the sleeves, right sides together, into the correct armhole. Follow the notches in the pattern for guidance. Neaten the seam allowances together.
Your GISELLE is ready !
If you're stuck or have any questions, please email us at info@schnittmuster-berlin.de. We'll respond as soon as possible.
Have lots of fun with your new designer piece!
Sincerely, your Schnittmuster-Berlin team.