Sewing instructions for Daphne bathrobe
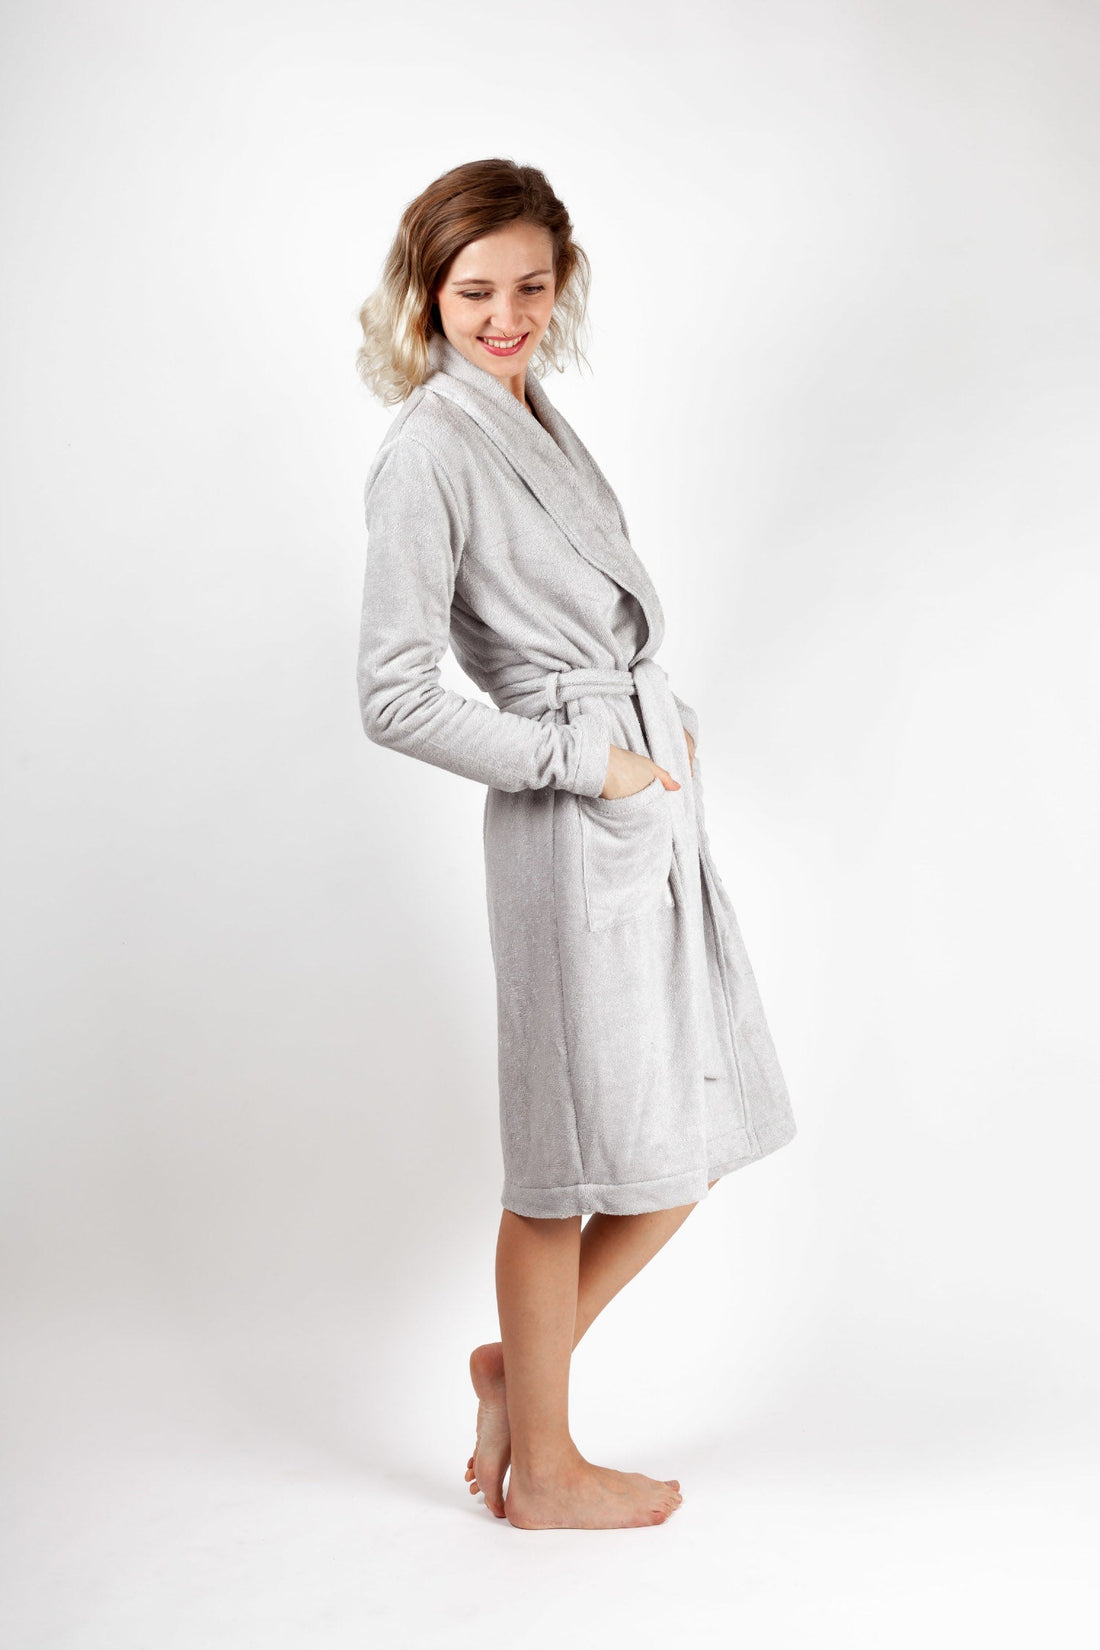
The cozy Daphne bathrobe will accompany you on cozy days at home and during your next sauna visit. It's knee-length and features a lovely long shawl collar and patch pockets. The tie at the waist allows the robe to be loosely held together. The inner tie secures the left front panel and ensures the perfect fit.
Length in the center back = 94 – 100 cm
Daphne was sewn in this tutorial from a bamboo terry cloth.
Required materials:
We recommend a soft jersey or terry cloth.
| Size 34-42 | Outer fabric | 3.00 cm | 140 cm |
| Size 44-50 | Outer fabric | 3.70 cm | 140 cm |
Cutting:
Seam allowances are included - 1cm wide or as per marking clips!
Cut out the pattern pieces from your outer fabric. Lay the fabric right side up. Position the selvedges parallel to the center so you can place the back piece and ribbons on the fold. The pattern pieces should all be laid with the writing facing up. Always align the grain arrow on all pieces in the same direction and parallel to the selvedge of the fabric. Transfer all notches from the pattern by making a 3mm snip with scissors or chalk. Notch the seam allowance along the fold, as this is always the center. Markings define the positions of dart ends, pocket positions, and much more. Transfer these either with chalk or pins. 

You will need fabric:
- 2x front part opposite
- 1x back part in the fracture
- 2x sleeves opposite
- 2x collar facing opposite
- 4x belts
- 2x bag opposite
- 1x ribbon in the fracture
- 1x belt eyelets
- 1x eyelet
- 1x hanger
Sewing instructions:
Seam allowances are included - 1cm wide or as per marking clips!
To sew this bathrobe you will need a sewing machine and an overlock sewing machine, or alternatively the zigzag stitch on your sewing machine to neaten the cut edges.
When using jersey: Always use a jersey needle and use a stretchy stitch, i.e. if you are sewing with a home sewing machine, you should use either a zigzag stitch or the three-part stretch stitch and then neaten all seam allowances again with a zigzag stitch or another similar stitch to prevent them from fraying.
In addition to the description, the colored lines in the pictures show you where a seam needs to be sewn or something needs to be glued.
When sewing, pay attention to the seam allowance included in the pattern. Seam allowances not specifically marked are 1cm wide!
Have fun sewing! 


Next, prepare the belt loops, eyelet, and hanger. These are processed like a belt loop: 
Sew the two belt straps together, right sides together, at the center back. Press the seam allowances open. 
Both ribbons are placed together, right sides together, and topstitched all the way around, leaving a small opening of 2-6 cm. The corners are trimmed, and then the entire piece is turned through the opening. The opening is then closed again with close-edge topstitching. 
This is what the finished ironed belt looks like. 
Sew the collar facing together with a seam in the center back. 
You also sew the two front pieces together in the center back. 
Sew an extra stitch between the two shoulder notches on the collar facing, the width of your stitching foot. This prevents it from expanding too quickly when attaching it later. 
Iron this section 1cm. 
The neckline of the back part is also provided with an auxiliary seam. 
Iron the sleeves 1cm at the hem and then again according to the Knips in the pattern. 

Sew the side seams of the front and back pieces with a right/left seam. 
Fold the sleeve hem twice along the previously ironed edge and stitch it through. 
Sew the front piece to the back piece, right sides together: shoulder to shoulder, neckline back with curve front. Cut the corners at the shoulder notches of the front piece. Use the markings in the pattern as a guide. 
Neaten the shoulder seam allowances together up to the corner and then iron them back. Iron the neckline seam allowance upwards. 
The ribbon is neatly sewn. Iron a 1cm seam allowance all the way around and fold the ribbon in half, wrong sides together. Stitch everything close to the edge. 
Next, stitch the finished ribbon to the previously sewn right/left side seam on the right side of the body. To do this, select half of the ribbon and stitch it flat. 
Place the sleeves, right sides together, into the body. Note the notches in the pattern. Neaten the seam allowances together. 
Now let's move on to the eyelet on the underlap. Attach this, right sides together, to the marker clip on the front edge. 
This is what your finished eyelet looks like. 
Sew the collar facing all the way around the front piece. 
Attach the previously prepared hanger to the outer collar facing. Fold the collar facing inward, wrong side out, so that the hem can be finished. 
Iron the hem twice, first 1cm and then again at the notch 4cm. Then topstitch it close to the edge. 
Now stitch the facing close to the edge of the front piece and stitch it through the front edge at the width of your stitching foot. 

After you've finished the side seams with a right/left stitch. 
This is how the bathrobe looks when it is finished and you can close it with the ribbon and the eyelet in the side seam.
Your DAPHNE is ready !
If you're stuck or have any questions, please email us at info@schnittmuster-berlin.de. We'll respond as quickly as possible.
Have lots of fun with your new designer piece!
Sincerely, your Schnittmuster-Berlin team.