Sewing instructions for the Clara corset
Level : Intermediate - for experienced players
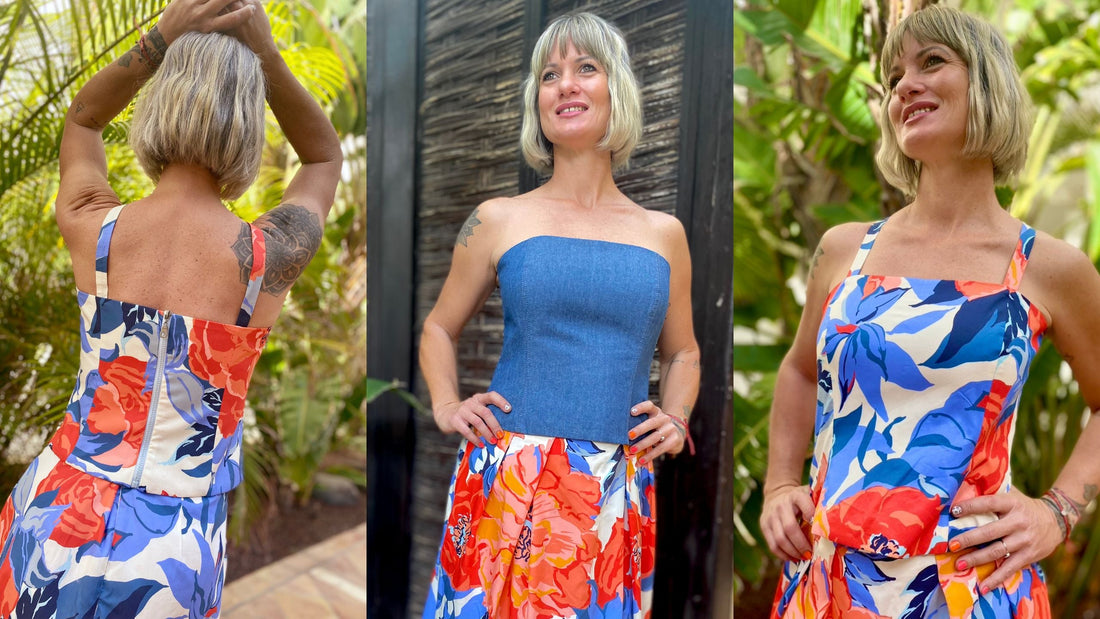
Clara was sewn from a thin cotton print in this tutorial.
You can find a pattern hack for Clara here!
Materials needed:
We recommend a cotton poplin or a thin cotton with some body . But you can just as easily use linen, denim, or velvet.
| Sizes 34-50 | Outer fabric | 0.70 m | 140 cm wide |
| Sizes 34-50 | Food | 0.50m | 140 cm wide |
| Sizes 34-50 | insert | 1.40m | 140 cm wide |
| Sizes 34-50 | Ripper divisible | 30cm | shorten accordingly |
| Sizes 34-50 | Sticks 0.5 endless | 1.20m | corresponding cut |
| Sizes 34-50 | 4 buttons | 1cm | or smaller |
Cut:
Seam allowances are included - 1cm wide or as indicated by the marking notches!
Cut out the pattern pieces from your outer fabric and interfacing. Place the fabric right side up. Align the selvedges parallel to the center so you can lay out the back piece, collar stand, undercollar, and upper collar on the fold. All pattern pieces should be laid with the printed side facing up. Always align the grainline arrow in the same direction on all pieces and parallel to the selvedge of the fabric. Transfer all notches from the pattern by making a 3mm snip with scissors or using chalk, and mark the ends of the darts. Snip the seam allowance on the fold, as this is always the center point. Markings define the positions of dart ends, pocket positions, and more. Transfer these either with chalk or pins. It's best to roughly cut out all outer fabric pieces that will be fully interfaced first. After you've secured the interfacing, cut them out precisely. There's also a video here about gluing and securing pattern pieces.

You will need fabric with interfacing:
- 1x front part in breakage
- 2x front side panel, mirror image
- 2x rear side panel, mirror image
- 2x back piece, mirror image
- 2x carriers

You will need: (The following appears to be unrelated and possibly machine-translated gibberish:)
- 1x front part in breakage
- 2x front side panel, mirror image
- 2x rear side panel, mirror image
- 2x back piece, mirror image
Sewing instructions:
Seam allowances are included - 1cm wide or as indicated by the marking notches!
To sew this blouse you will need a sewing machine and an overlock sewing machine, or alternatively the zigzag stitch of your sewing machine to finish the cut edges.
The colored lines in the pictures show you, in addition to the description, where to sew a seam or glue something.
When sewing, pay attention to the seam allowance included in the pattern. Seam allowances not specifically marked are 1 cm wide!
Have fun sewing!

You place the front piece and the front side piece right sides together and close the seam.

Repeat the same process for the back panel and the side back panel. Note: the center back remains open for the zipper.

Now simply place the front and back pieces right sides together and sew the side seams. Then press all the seams open. The outer shell is finished...that was quick!

You do exactly the same with the lining pieces. But be careful: the seam allowances are different in the back side seam.
The front side seam is pressed open, the side seam and the back side seam are pressed towards the back center.

Now you stitch through the wider seam allowances in the lining at 1cm, creating the tunnels for the boning...which you don't insert yet.

Now you can join the outer and inner bodice pieces together at the top edge, right sides facing. Topstitch the seam allowance close to the edge of the lining.


It's time to get to the ripcord:
First, you sew it to the outer fabric using your zipper foot, close to the zipper teeth, but not too close, so that the slider doesn't get stuck to the fabric later.

Then you fold the lining and outer fabric corset right sides together, so that the zipper is between the layers, and stitch along the zipper again. Make sure to leave a little more space from the zipper teeth so that the slider doesn't dig into the lining.

You turn the corset right side out and iron the top edge and everything around the zipper flat.

Okay, this sounds like a bad joke, but now turn it inside out again, as you're now inserting the boning and then sewing the bottom edge together. Leave an opening of about 10 cm in the hem.


Now turn the corset right side out through the opening, press the bottom edge flat, and close the opening with a hand stitch that's as invisible as possible. You can also topstitch the hem with a sharp edge; that way you'll save yourself the trauma of 5th-grade needlework class ;-)

Finally, the supports are made.
You iron one of the short sides over by 1 cm, then fold the strap strip in half lengthwise, right sides together, and stitch along the folded edge, leaving the folded edge uncovered. The corner will be trimmed.

Now take a wooden spoon or a stick (I used a fondue fork this time, the wooden spoon was too thick), slip the closed end over it and push until you come out the other side.

Iron the straps flat, stitch the open side closed and make the buttonholes.

The finale! Sew buttons onto the bodice and

Your CLARA is finished!
If you get stuck or have any questions, please feel free to contact us by email at info@schnittmuster-berlin.de. We will reply as soon as possible.
Have lots of fun with your new designer piece!
Sincerely, your Schnittmuster-Berlin team