Sewing instructions short coat Heidi
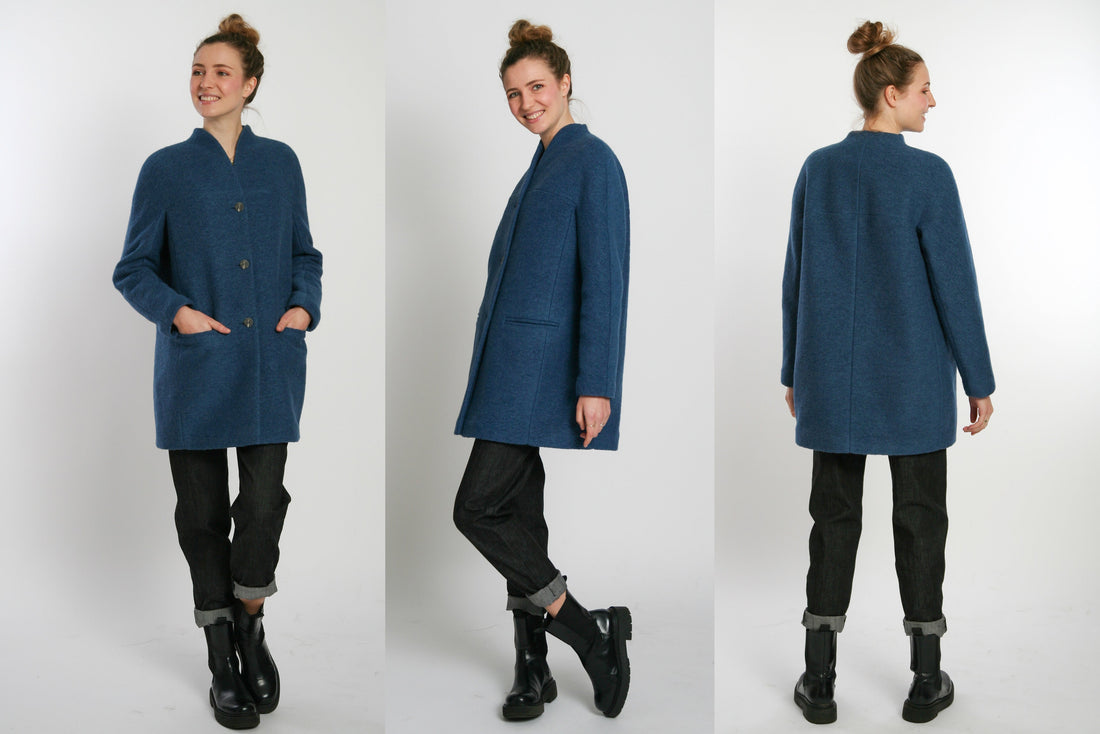
You are looking for the ultimate sewing pattern for one wool coat ? Heidi is equipped with a special cut, you can see this on the technical sketch below. The construction of the kimono with side part including light O-Shape has it all and will inspire you. The sleeves are sewn in together with the upper part in a kind of yoke over a corner point. Sounds more difficult than it is. Of course, our illustrated sewing instructions are also available to help you with this sewing project.
Length at center back = 82-86 cm
In these instructions, Heidi was sewn from boiled wool.
Required material:
We recommend a coat wool, boiled wool or thick jersey.
Sizes 34-40
- outer fabric 2.30m (140cm wide)
- Lining 1.80m (140cm wide)
Sizes 42-50
- Outer fabric 2.80m (140cm wide)
- Lining 2.10m (140cm wide)
Sizes 34-50
- Insert 2.00 m (140 cm wide)
- Buttons 3 x 2.8cm diameter
- Form tape 0.70 m 12 mm wide
In advance for you as information:
cutting:
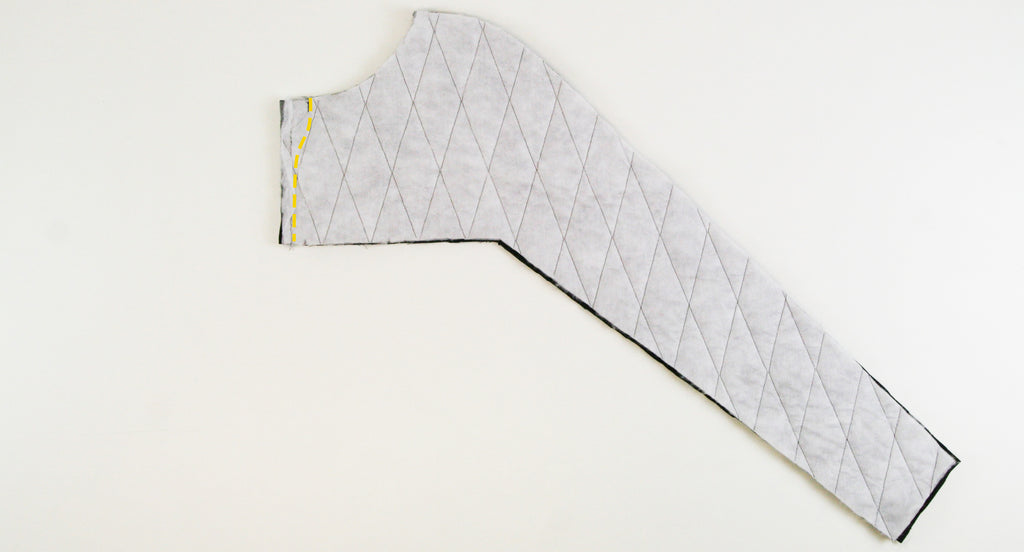
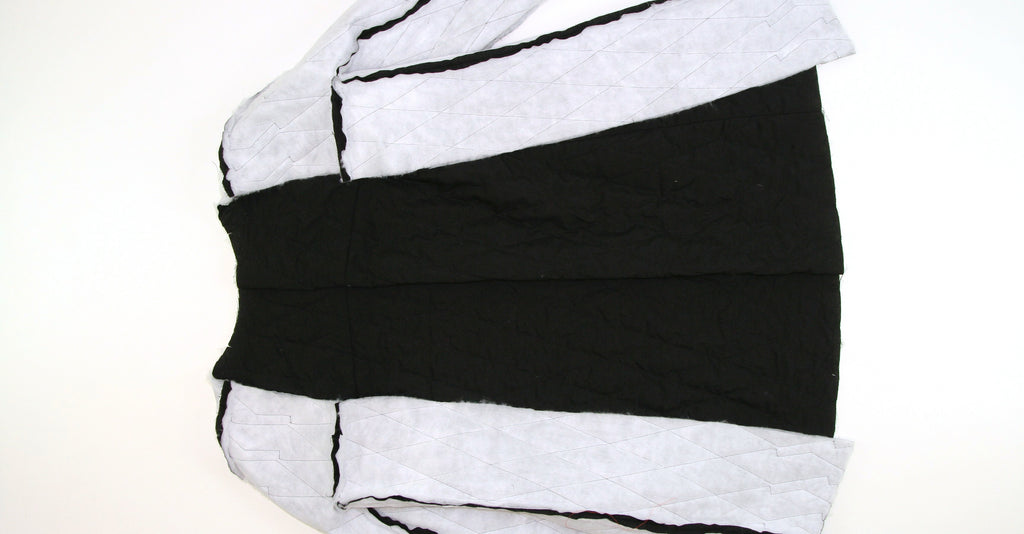
Cut out the pattern pieces from your outer fabric, lining fabric and interlining. Lay the fabric right side up. Place the selvedges of the lining fabric parallel to the center so you can lay the back piece down in the fold. The pattern pieces should all be face up. Always align the grain arrow on all pieces in the same direction and parallel to the selvedge of the fabric. Transfer all the notches from the pattern through a 3mm long incision with scissors or chalk. Pinch the seam allowance in the fold of the fabric because this is always a center. Markings define positions of dart ends, pocket positions, etc. Transfer these either with chalk or pins. It is best to first roughly cut all outer fabric parts that are completely covered with an interlining. After you have fixed the insert, cut it out exactly. There is also a video about gluing and fixing pattern pieces here.
If you want to make your Heidi out of corduroy, note that corduroy is cut against the grain. We have a video for you about this.
If you want to make your Heidi out of plaid fabric, Dagmar will show you how best to cut plaid fabric in this video.

You need from fabric:
- 2x bag
- 2x lower back part in opposite directions
- 2x front part-top in opposite directions
- 2x upper back part in opposite directions
- 2x side part in opposite directions


also with partial fixation/plaque from insert:
- 2x front part upper part fixation/plaque, opposite
- 2x front part below part fixation/plaque, opposite
- 2x back part-top partial fixation/plaque, opposite
- 2x hem side part, opposite
- 4x hem sleeves, opposite
- 2x hem back part, opposite

also from insert:
- 2x document behind, opposite
- 4x piping, opposite
- 2x receipt front, opposite
- 2x front part below, opposite

You need from feed:
- 2x lower front part in opposite directions
- 2x front part-top in opposite directions
- 2x pocket bags in opposite directions
- 2x upper back part in opposite directions
- 1x back part below in the break
- 2x side part in opposite directions
Sewing instructions:
You will need a sewing machine to sew this coat.
In addition to the description, the colorful lines in the pictures show you where a seam needs to be sewn or something to be glued.
When sewing, pay attention to the seam allowance included in the pattern. Seam allowances that are not specially marked are 1 cm wide!
Happy sewing!

Start making the piped pocket in the front part. To do this, stitch the side part onto the lower front part, right sides together, stopping 1cm before the dividing seam. Iron the seam allowances apart.

Iron the piping wrong sides together in the fold.

Draw the lines of the pocket position with tailor's chalk. Place the piping along the lines and stitch them in place.

Cut between the piping as marked in the photo.

Turn both piping inside out and stitch the tips onto the piping at right angles.

This is what the finished piping looks like from the outside.

Sew the lining pocket pouch to the lower piping right sides together...

... and topstitch the seam flat.

Position the fabric pocket pouch right sides together on the top piping.

Close the pocket pouches right sides together.

Stitch the top front piece, right sides together, onto the bottom front piece and side piece.

Now sew the front facing to the front edge of the front part, right sides together, starting 1cm after the raw edge.

Flatten the seam allowances.

Iron the front facing into place and trim the hems as you like.

Sew the center back of the lower back pieces right sides together. Iron the seam allowances apart.

Sew the center back of the upper back pieces right sides together. Iron the seam allowances apart.

Sew the dividing seam of the prepared back pieces together, right sides together. Iron the seam allowances apart.

Sew the upper sleeve seam from the front and back pieces right sides together. Iron the seam allowances apart.

Sew the lower sleeve seam of the front and back pieces and the side seam right sides together. Iron the seam allowances apart.

Sew the center back of the back facing together, right sides together. Iron the seam allowances apart.

Sew the back facing to the front facing, right sides together. Iron the seam allowances apart.

Stitch the open section of the back facing to the neckline.

Flatten the remaining seam allowance.

Iron all hems according to pattern.

Now come to the processing of the lining material. Stitch the upper front piece onto the lower front piece, right sides together.

Sew the dividing seam between the front part and the lining side part right sides together. Make sure to leave an opening (10-15cm) in the left lining sleeve for the hem processing later.
Stitch the center back of the top lining back piece right sides together. Notice the lining fold in the pattern.

Stitch the upper part right sides together onto the lower lining part that has been cut in the fold.

Sew the dividing seam between the back part and the lining side part right sides together.

Sew the upper sleeve seam from the front and back pieces right sides together.

Here you can see how a lining fold was sewn into the hem...
... and ironed.

Stitch the lining to the front and back facings, right sides together. Press the seam allowance to the center back.
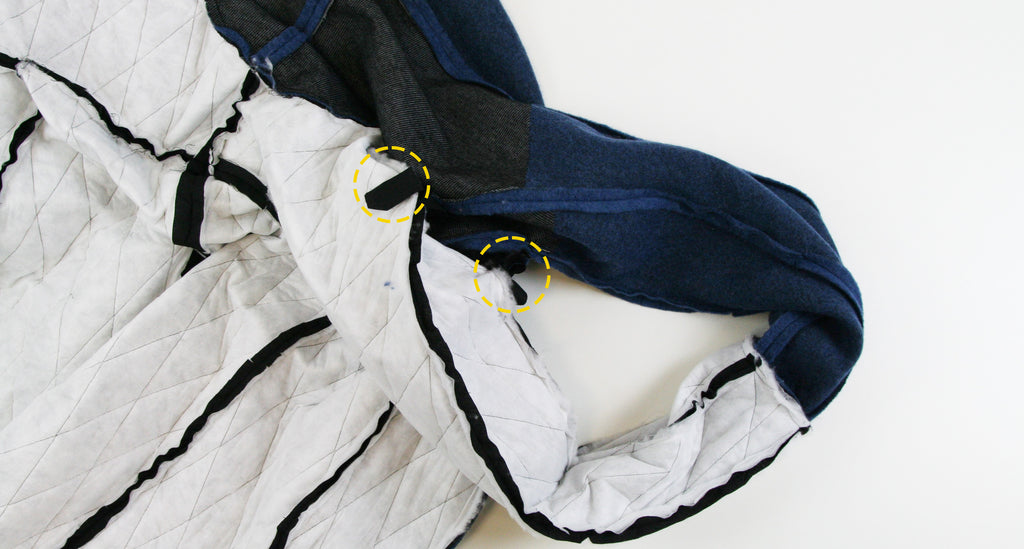
The lining is secured with an extra lining strip at the front and back armpits within the seam allowances.

Sew the lining sleeve hem right sides together to the ironed sleeve hem. You fix the hems of the outer fabric with an auxiliary seam at the seam allowances, so the hem cannot fold down or become distorted when you put it on.


Process the hem of the coat. Secure the ironed-up hem with large stitches at the seam allowances of the dividing seams. The hem always stays in position, regardless of the type of fabric.

Sew the last piece of the opening in the hem over the opening in the left sleeve.

Turn the coat into its correct position and stitch the opening in the sleeve close to the edge.

Finally, you sew the buttonholes and sew on your buttons accordingly or you decide to use snaps.
Your HEIDI is ready!
If you don't know what to do, or if you have any questions, please send us an email to info@schnittmuster-berlin.de. We will answer you as soon as possible.
Have a lot of fun with your new designer piece!
Sincerely, your Sewing Pattern Berlin team.
