Sewing instructions for pleated trousers Smeralda
Wide, airy trousers are ideal for the warmer seasons, so we've developed an elegant pair of pleated trousers for you. You'll definitely feel comfortable with the incredible width created by the pleated legs.
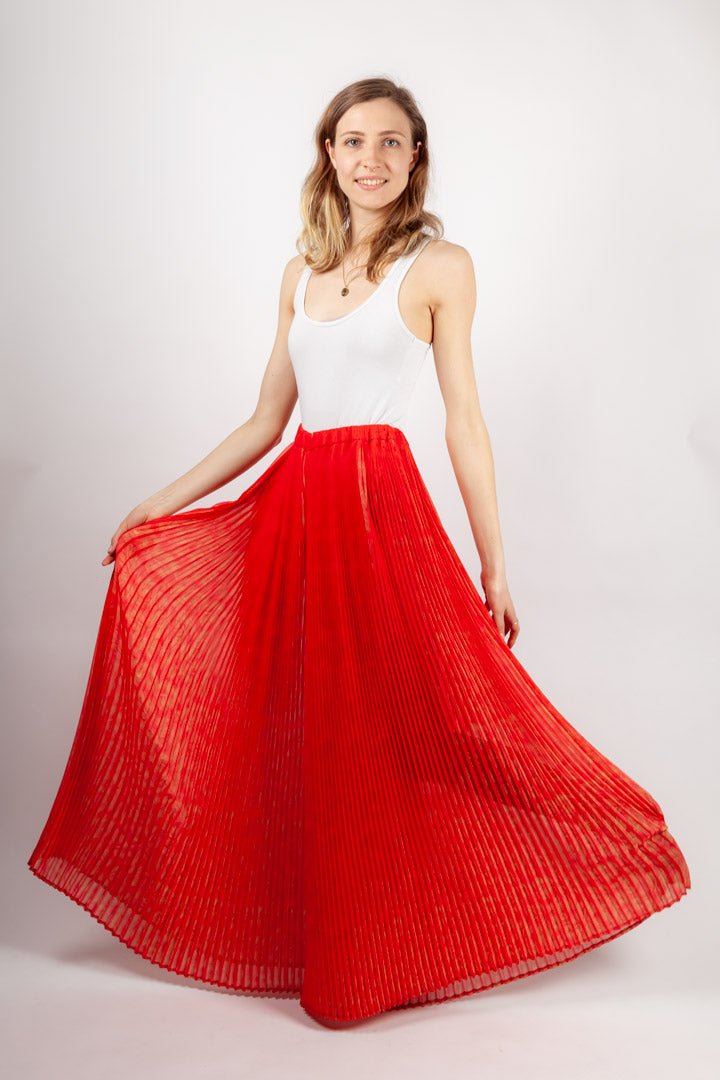
In this tutorial, Smeralda was sewn from a polyester pleated fabric.
Required materials:
We recommend a soft, flowing pleated viscose, silk or polyester satin.
| 34-42 | Outer fabric | 1.60 m | 140 cm wide |
| 44-50 | Outer fabric | 1.90 m | 140 cm wide |
| 34-42 | rubber band | 65-81 cm | 3.0 cm wide |
| 44-50 | rubber band | 86-103 cm | 3.0 cm wide |
Cutting:
Seam allowances are included - 1cm wide or as marked!
Make sure that you leave the pleats connected to the paper when cutting and cut both at the same time. Cut out the pattern pieces from your outer fabric . Lay the fabric with the right side facing up. Place the selvedges parallel to the center so that you can place the waistband on the fold. The pattern pieces should all lie with the writing facing up. Always align the thread take-up arrow on all pieces in the same direction and parallel to the selvedge of the fabric. Transfer all notches from the pattern by making a 3mm long cut with scissors or chalk . Notch the seam allowance on the fold, as this is always the center . Markings define the positions of dart ends , pocket positions, and much more. Transfer these either with chalk or a pin . 

You will need fabric:
- 2x front and back trousers opposite each other
- 1x bundle in the break
Sewing instructions:
Seam allowances are included - 1cm wide or as marked!
To sew these pants you will need a sewing machine and an overlock sewing machine, or alternatively you can use your sewing machine's zigzag stitch to neaten the cut edges.
In addition to the description, the colored lines in the pictures show you where a seam needs to be sewn or something needs to be glued.
When sewing, pay attention to the seam allowance included in the pattern. Seam allowances not specifically marked are 1 cm wide!
Have fun sewing! 

When cutting, make sure that you leave the pleats connected to the paper and cut both at the same time. 

 Start with the trouser legs. Both trouser legs will be secured with a stitching seam all the way around to better stabilize and secure the pleats. We recommend placing a piece of cardboard under the presser foot while sewing to help it move over the pleats.
You neaten the hems of the trouser legs with an overlock machine and then iron them 1 cm... 
… and tap through. 
The hem must then be ironed back into its pleated shape and flattened. 
Now, take your trouser legs and close the inseams. Finish the seam allowances together and press them back. 


An additional auxiliary seam on the fold of the waistband prevents unnecessary width when pulling in the elastic and wearing it later. 
The waistband is also topstitched all around and provided with an auxiliary seam. 
This is what the prepared bundle looks like. 
 The lower inner cut edge of your waistband is finished.
Now you can place the center back, right sides together, and sew them together with a 1/2-inch seam allowance. Leave an opening between the two seams for inserting the elastic. Then iron the seam allowances open and the waistband in the fold. 
The waistband is pinned to the trouser opening with the raw edge not hemmed, right sides together, and sewn in place. Note the notches in the pattern. The seam allowance is pressed upwards into the waistband. 
The ironed waistband is now sewn completely onto the trousers by pinning the folded waistband (as seen from the right side) and then stitching the finished seam in place in the shadow of the seam (i.e. below the waistband seam). 
The elastic band, cut to your body measurements, can now be pulled through the sewn-on waistband with a safety pin and sewn together. You can sew the opening closed by hand. 
This is what the finished waistband of your new pleated trousers looks like.
Your SMERALDA is ready !
If you're stuck or have any questions, please email us at info@schnittmuster-berlin.de. We'll respond as soon as possible.
Have lots of fun with your new designer piece!
Sincerely, your Schnittmuster-Berlin team.