Sewing instructions for Emma shirt
Level : Intermediate - for experienced players
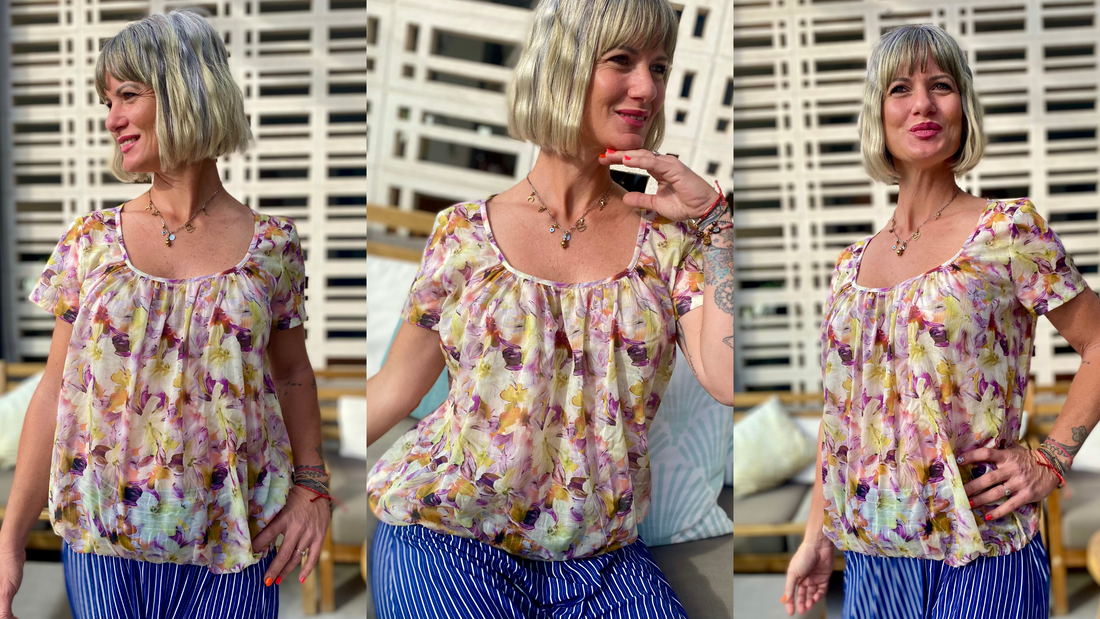
Emma was sewn from cotton batiste in this tutorial.
Materials needed:
We recommend a thin cotton fabric. If you prefer a more flowing fabric, you can also use viscose or silk.
| Sizes 34-42 | outer fabric | 1.30 m | 140 cm wide |
| Sizes 44-50 | outer fabric | 1.60 m | 140 cm wide |
| Sizes 34-50 | elastic band | 80cm-125cm | 1 cm wide |
Cut:
Seam allowances are included - 1cm wide or as indicated by the marking notches!
Cut out the pattern pieces from your outer fabric and interfacing. Place the fabric right side up. Align the selvedges parallel to the center so you can lay out the back, front, yoke, and front inserts on the fold. All pattern pieces should be laid with the printed side facing up. Always align the grainline arrow in the same direction on all pieces, parallel to the selvedge of the fabric. Transfer all notches from the pattern by making a 3mm snip with scissors or using chalk, and mark the ends of the darts. Clip the seam allowance on the fold, as this is always the center point.

You will need the following fabric:
- 1x front part in breakage
- 1x back piece in half
- 2x sleeves, mirrored
- 1x bias binding/piping neckline
Sewing instructions:
To sew this shirt you will need a sewing machine and an overlock sewing machine, or alternatively the zigzag stitch of your sewing machine to finish the cut edges.
The colored lines in the pictures show you, in addition to the description, where to sew a seam or glue something.
When sewing, pay attention to the seam allowance included in the pattern. Seam allowances not specifically marked are 1 cm wide!
Have fun sewing!

You begin by pulling gathering threads into the front and back neckline. These help create even gathers. Select the longest stitch setting on your sewing machine. Do not backstitch at the beginning and end of the gathering stitches; leave approximately 10 cm of thread. Sew two gathering stitches approximately 0.7 cm apart, about 0.4 cm and 1.2 cm from the cut edge, so that the piping will later run precisely between these two stitches. Pay attention to the pattern markings to see which areas should be gathered.

Now, carefully pull the two lower threads on one side and gather the fabric until you achieve the desired gathering width (indicated on the pattern). You can now distribute the gathers evenly and secure the threads at the beginning and end.

Now you close the right shoulder seam right sides together, neaten the seam allowance together and press it forward.

You take the bias strip and iron it over by 0.7cm on one long side.

Then you attach it to the neck opening from the left (you can use the neck opening templates to double-check that the distances are correct)....

...and stitch it down. If a little bit of bias tape sticks out, that's because the tape stretches while ironing. Don't worry, you've done everything correctly, just trim it off.
The gathering threads can now be removed by pulling out the underthreads.

The piping is ironed around the seam allowance...

...and stitched on at an angle from the right.
There! You've done the hardest part. The rest is a walk in the park ;-)

Now sew the left shoulder seam right sides together, finish the seam allowance, and press it forward. You can secure the seam allowance at the neckline-shoulder point with a few stitches.

Next, take the sleeves and sew the hem. Iron it over twice by 1.5 cm and topstitch it.

Next, sew the sleeves into the armholes, right sides together. Pay close attention to the notches so you don't mix up the right and left sleeves. Finish the seam allowance together and press it towards the sleeve.

Now place the front and back pieces right sides together and sew the side seam in one go. Finish the raw edges of the seam allowance and press it towards the front.

The hem is folded over twice by 1.5 cm and stitched. Leave a small opening at the side seam through which you thread the elastic band using a safety pin.

After you have threaded the elastic band through, sew the ends of the elastic together and close the hole in the hem.
Your EMMA is finished!
If you get stuck or have any questions, please feel free to contact us by email at info@schnittmuster-berlin.de. We will reply as soon as possible.
Have lots of fun with your new designer piece!
Sincerely, your pattern team