The Liem jersey dress was sewn in this tutorial from a brushed sweat fabric.
Do the same with the two side seams. Then it goes to the ironing board and you can iron the side and shoulder seams apart.
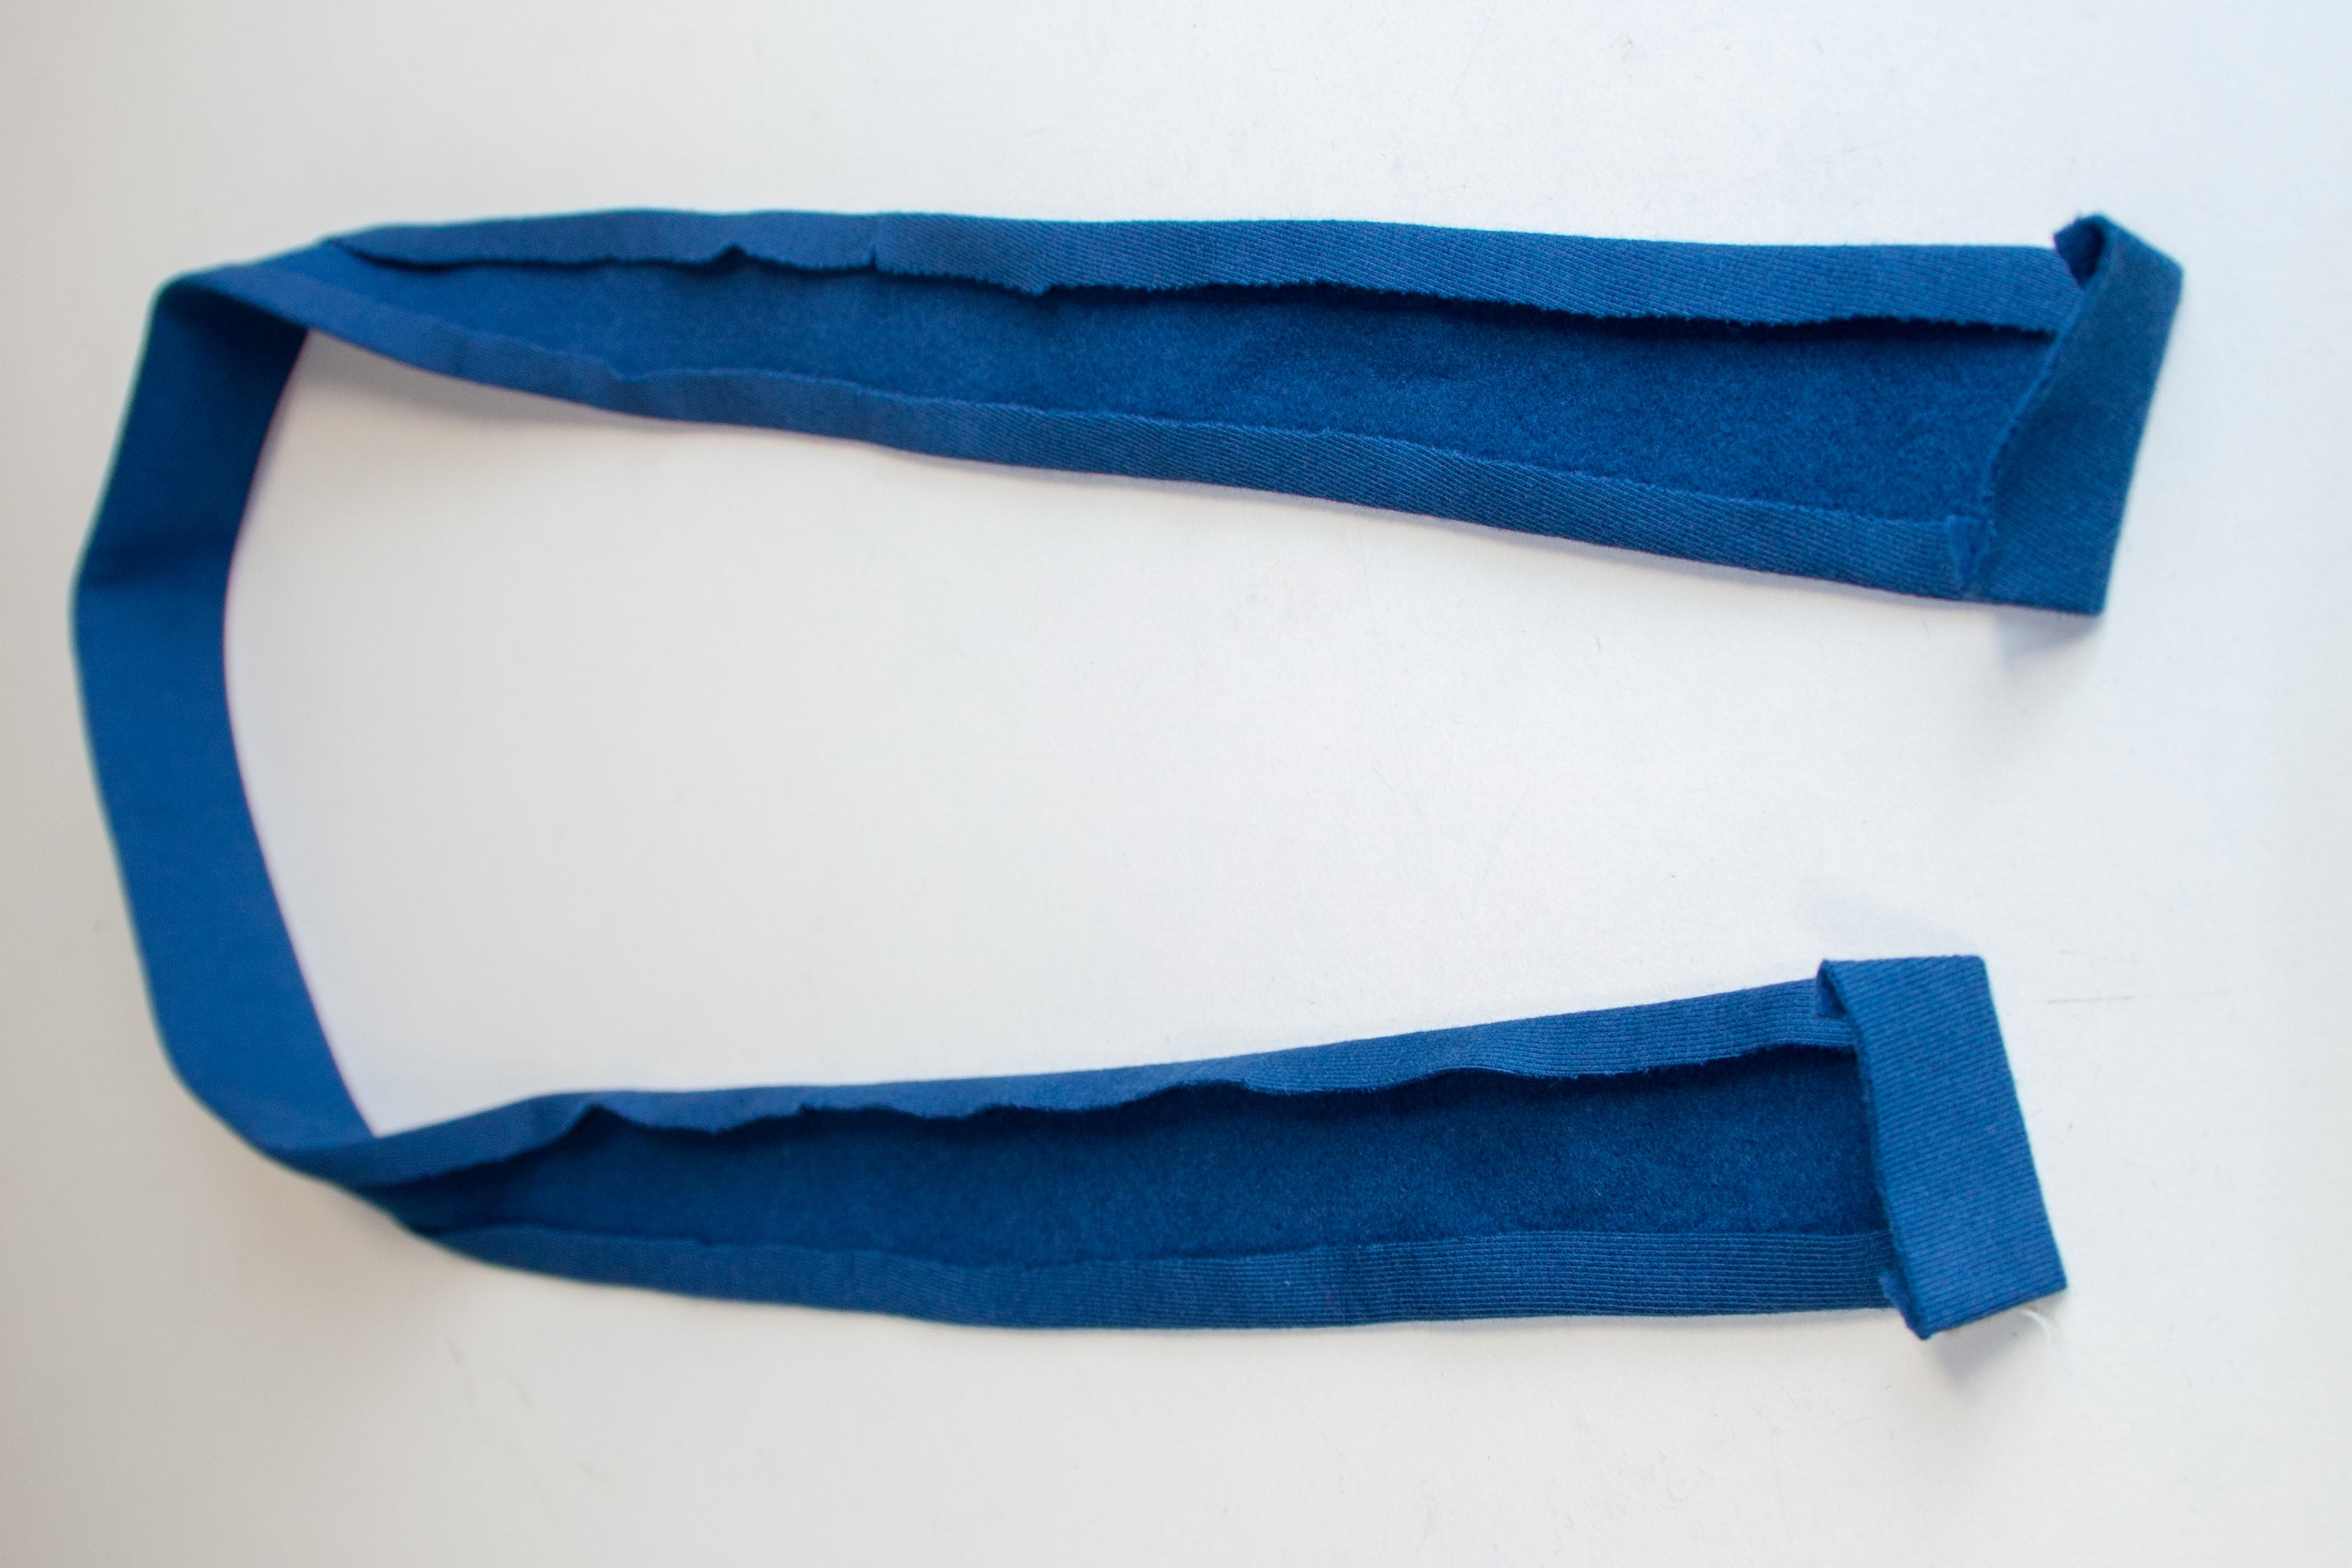
The drawstring, which will be stitched onto the dress, must first be ironed over 1 cm on both long sides. Then, both ends are ironed over 1.5 cm. With this finished, ironed band, it's back to the sewing machine. Using a regular stitch, sew the ironed ends of the tunnel band together once, close to the edge. Then, sew another seam 1 cm from this seam.
 Attach this prepared ribbon along the marking points on the back and front pieces.
  Then you stitch the ribbon onto the dress close to the edge on both long sides to create a drawstring.
 Now you need the tie. To make it, sew the two ribbons together at one end at a 1cm seam and iron this seam open. Then fold the ribbon in half along the long side, right sides together.
 Now stitch this strip together along both short sides and the long side. Make sure the center seam lines up with the center seam and leave a 7cm opening on the long side so you can turn the ribbon right side out.
 Once you've done that, turn the tube over so the seam allowance is inside the ribbon and iron the ribbon flat. You can then stitch the ribbon flat, leaving a width of 0.5 cm from the edges, closing the opening at the same time.
  Next, we'll move on to the collar. To do this, place the upper collar on top of the undercollar, right sides together. Don't be fooled by the fact that the upper collar is a few millimeters larger than the undercollar. This will give the collar enough room to roll down and sit more comfortably on the shoulder. When sewing, simply tuck in the longer collar a little at the wider points; this width will be ironed later. The seam allowance on the collar is 0.7 cm.
 Clip away the seam allowance in the corners, turn the collar inside out and stitch it close to the edge.
 Once you've done that, you can sew the collar to the neckline. Make sure the undercollar (the collar that's a few millimeters shorter) is also tucked down and the collar center is aligned with the center of the back piece.
  Next comes the neckline facing, which consists of two pieces. First, you need to neaten the four ends of the two facings. Then, place the ends right sides together and sew them together with a 1cm seam to form a ring. Secure the neckline seam with a securing tape/interfacing strip, as shown in the picture.
 Pin the finished facing ring, right sides together, to the neckline of the dress and sew the whole thing together with a 0.7cm seam allowance. It's best to start at the center back.
 When you reach the lace at the center front, lift the stitching foot briefly so you can sew a neat corner. After facing, use scissors to cut into the seam allowance of the lace. This will help the lace lay down better and give it a nicer look. Use this method to also slightly notch the curves of the neckline.
  Once you've completely stitched the facing to the neckline, turn it inside out and iron the seam flat to prevent any of the facing from showing. Neaten the inside edge of the neckline facing with an overlock or a zigzag stitch, then stitch the facing to the neckline all the way around. Once close to the edge and once 2.5 cm from the edge.
 Next, it's the sleeves' turn. To do this, first neaten the long side edges of both sleeves. Then, fold each sleeve in half and sew the sleeve seams together, right sides together. Make sure you end up with two different sleeves, one left and one right. You can also press the seam allowances open here.
 For the sleeves, you'll still need the cuffs. Fold the rectangular cuff pieces vertically in half and then sew the two short sides together.
  Then iron this seam open and iron the cuff flat on the long side.
 Now sew the cuffs to the sleeve hem. Make sure the cuff seam and the sleeve seam match.
 When sewing, it's helpful to tuck the cuff into the sleeve. Then you need to finish this seam with the overlock.
 The hem isn't finished yet; you can still stitch the seam allowance onto the sleeve from the right side. This seam is sewn close to the edge of the seam.
 The finished sleeves can now be sewn onto the dress. First, pin the sleeve into the armhole. Make sure the side seam of the sleeve and the side seam of the dress line up. Then, finish the raw edges with the overlock.
 Now all that's missing is the hem. First, finish it with the overlock.
 Then iron the seam allowance inwards by 3 cm.
  Finally, all you have to do is stitch the hem at 2.7cm from the right.
Congratulations, your LIEM jersey dress is finished!
If you're stuck or have any questions, please email us at info@schnittmuster-berlin.de. We'll respond as soon as possible.
Have lots of fun with your new designer piece!
Sincerely, your Schnittmuster-Berlin team.

 You need:
 First, take the front piece. This is where you need to sew the darts. To do this, place the two notches on top of each other at the side seam and sew the lace from there to 1 cm behind the marking. Sew the lace so it ends nicely and flat to avoid a "bag."
  Then iron the dart contents upwards towards the armhole.
 Now neaten all side seams and the shoulder seams with the overlock or with a zigzag stitch.
 Next, place the front and back pieces right sides together and sew the shoulders together.